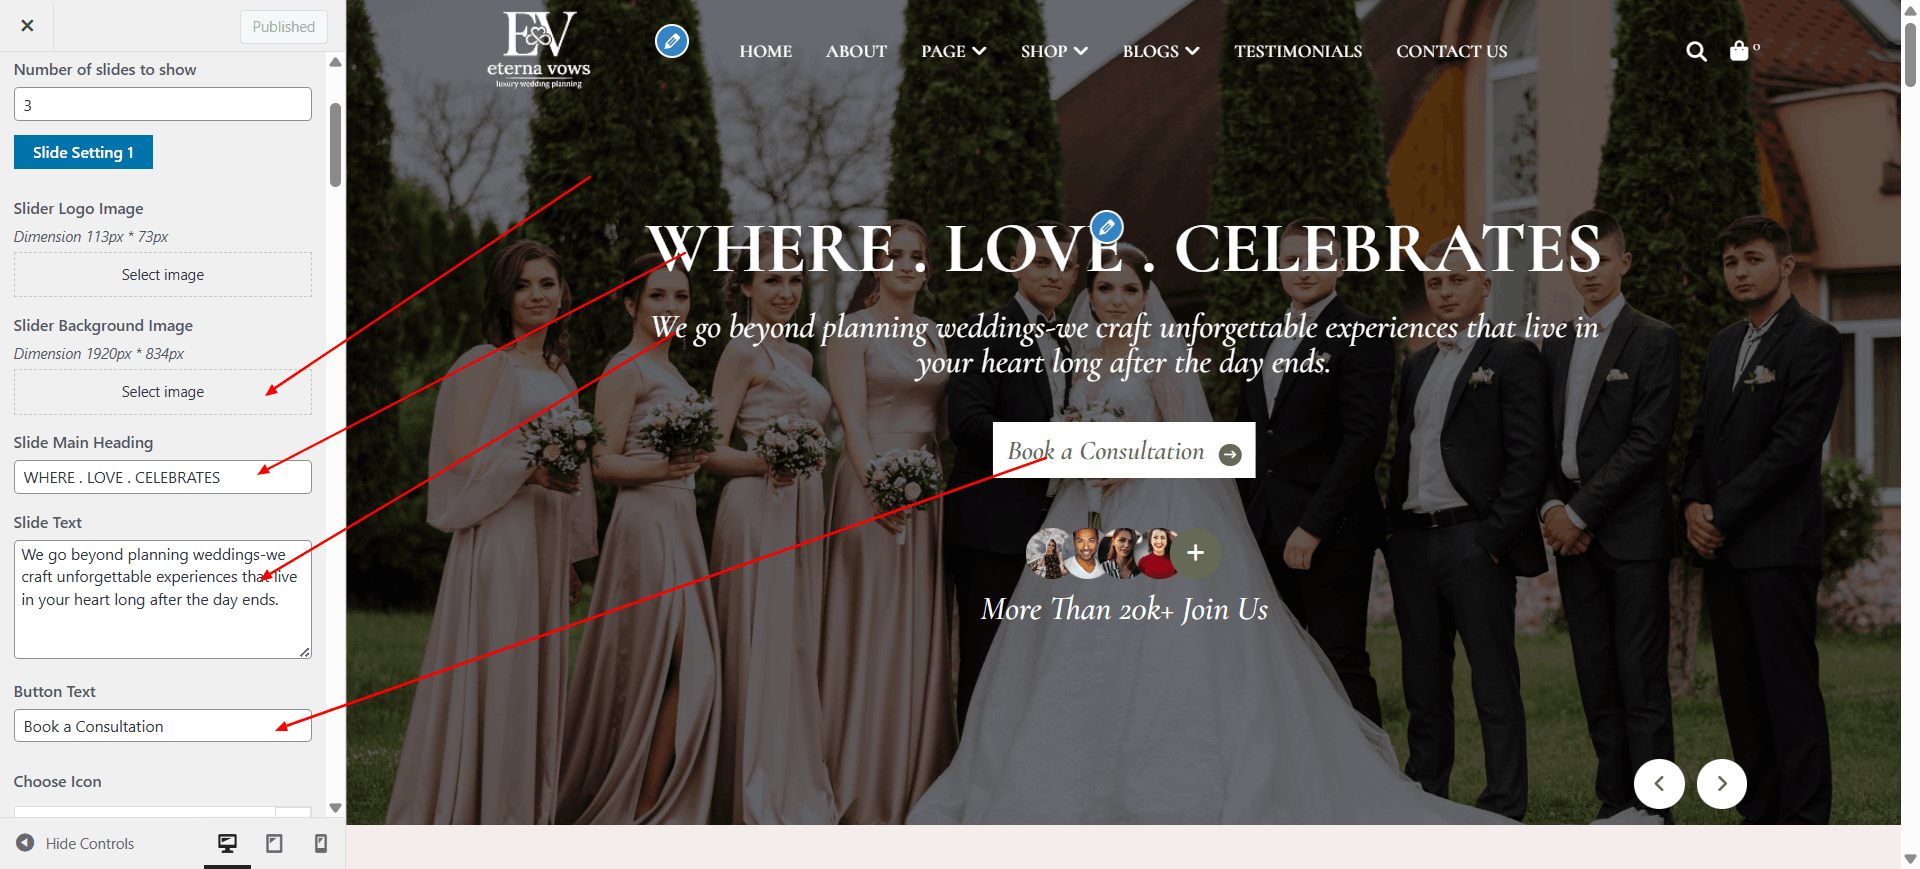
Configure "Silder" Section
Description: Set up the slider section with background images and slider content.
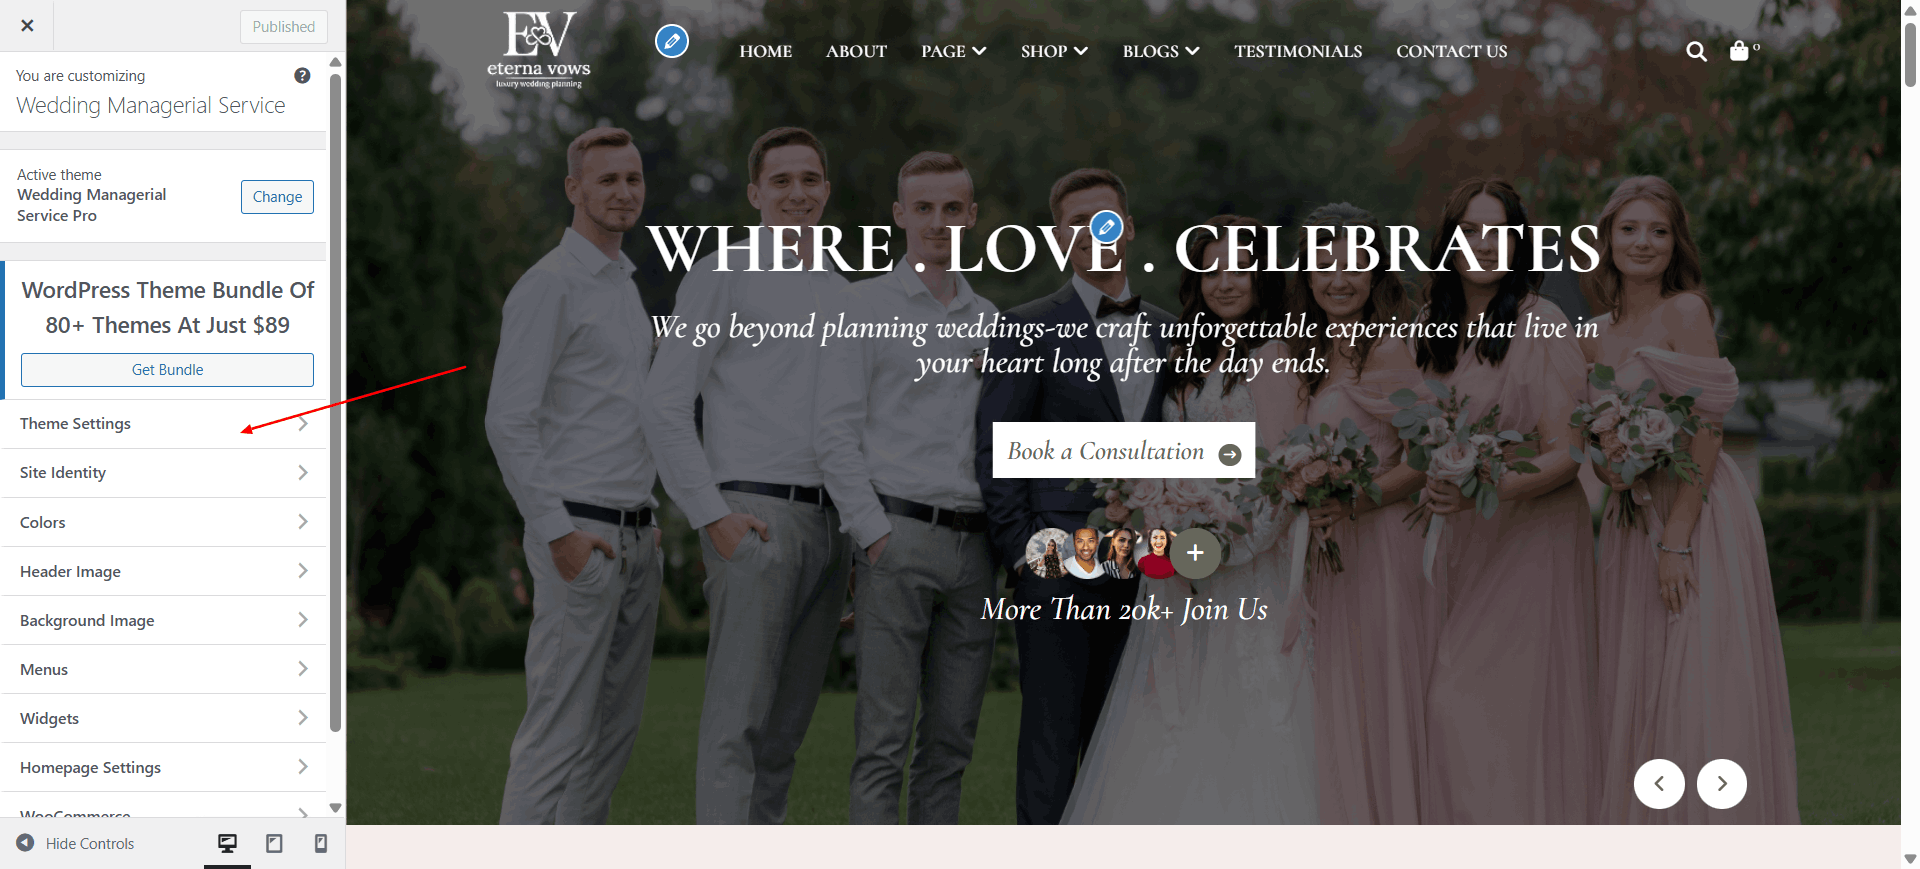
Open "Silder" from the Theme Settings panel in the Customizer.
Update background visuals using "Background Color" and
Update the content as specified below.
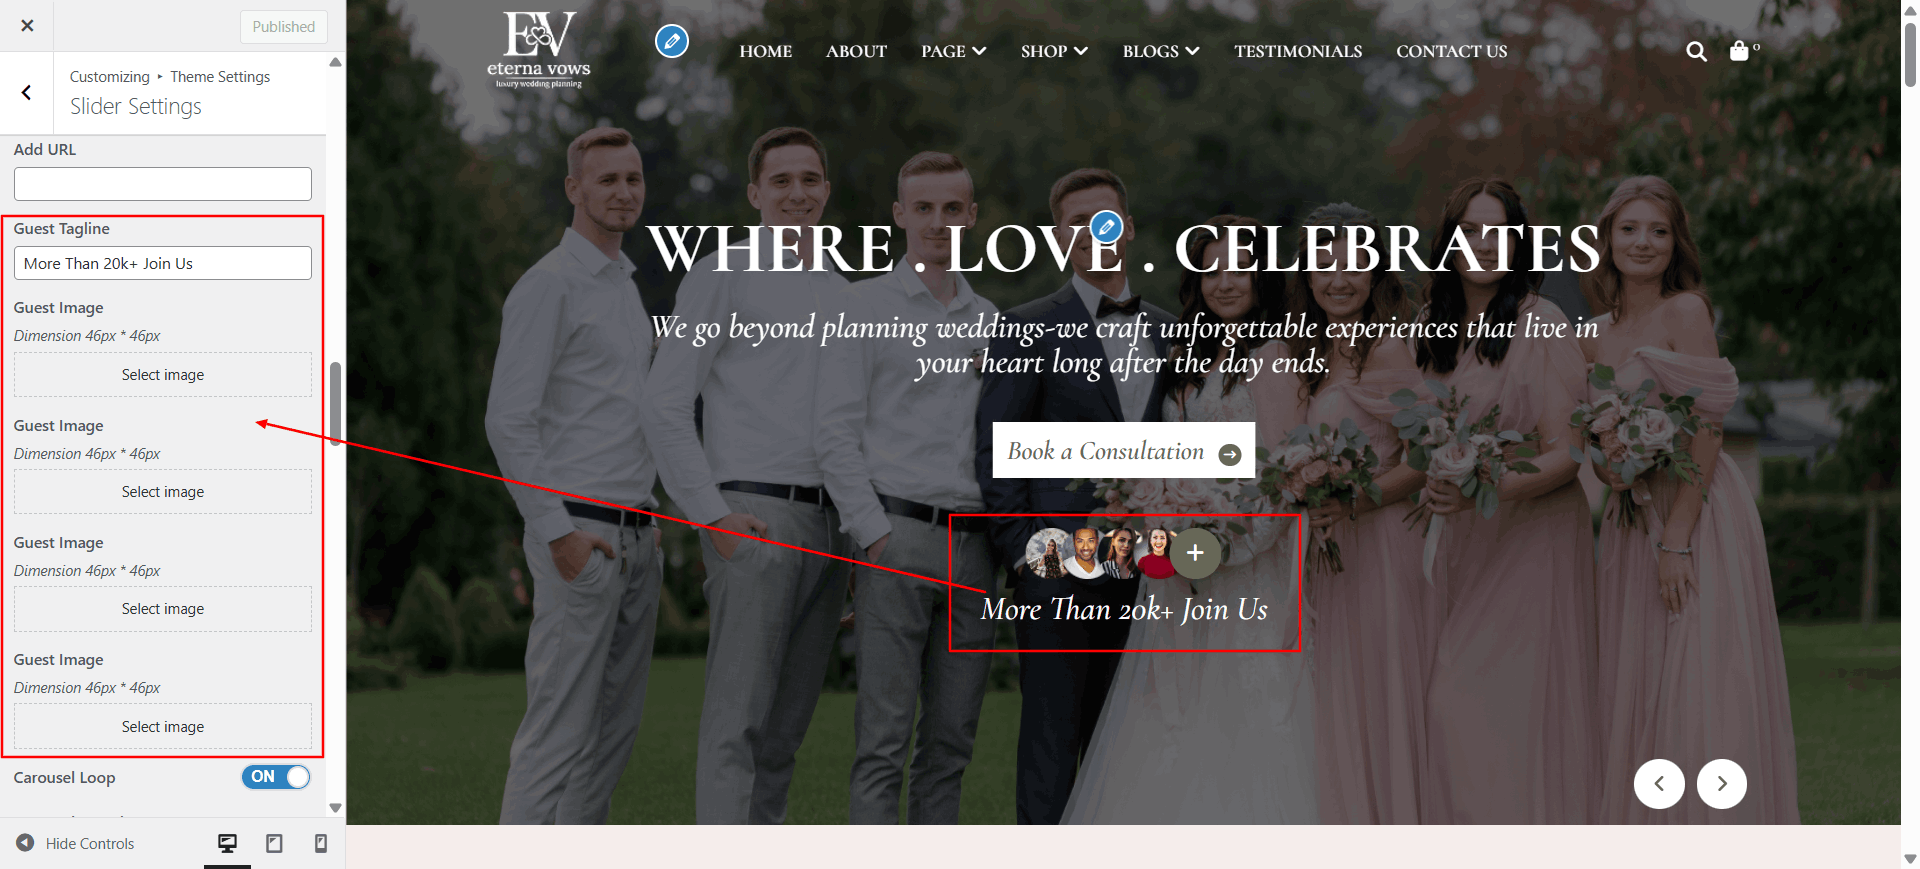
Scroll down to see all the color customization options for this section.
Configure "Partner" Section
Description: Set up the partner section Logo images.
Open "Partner" from the Theme Settings panel in the Customizer.
Update background visuals using "Background Color" and
Update the content as specified below.
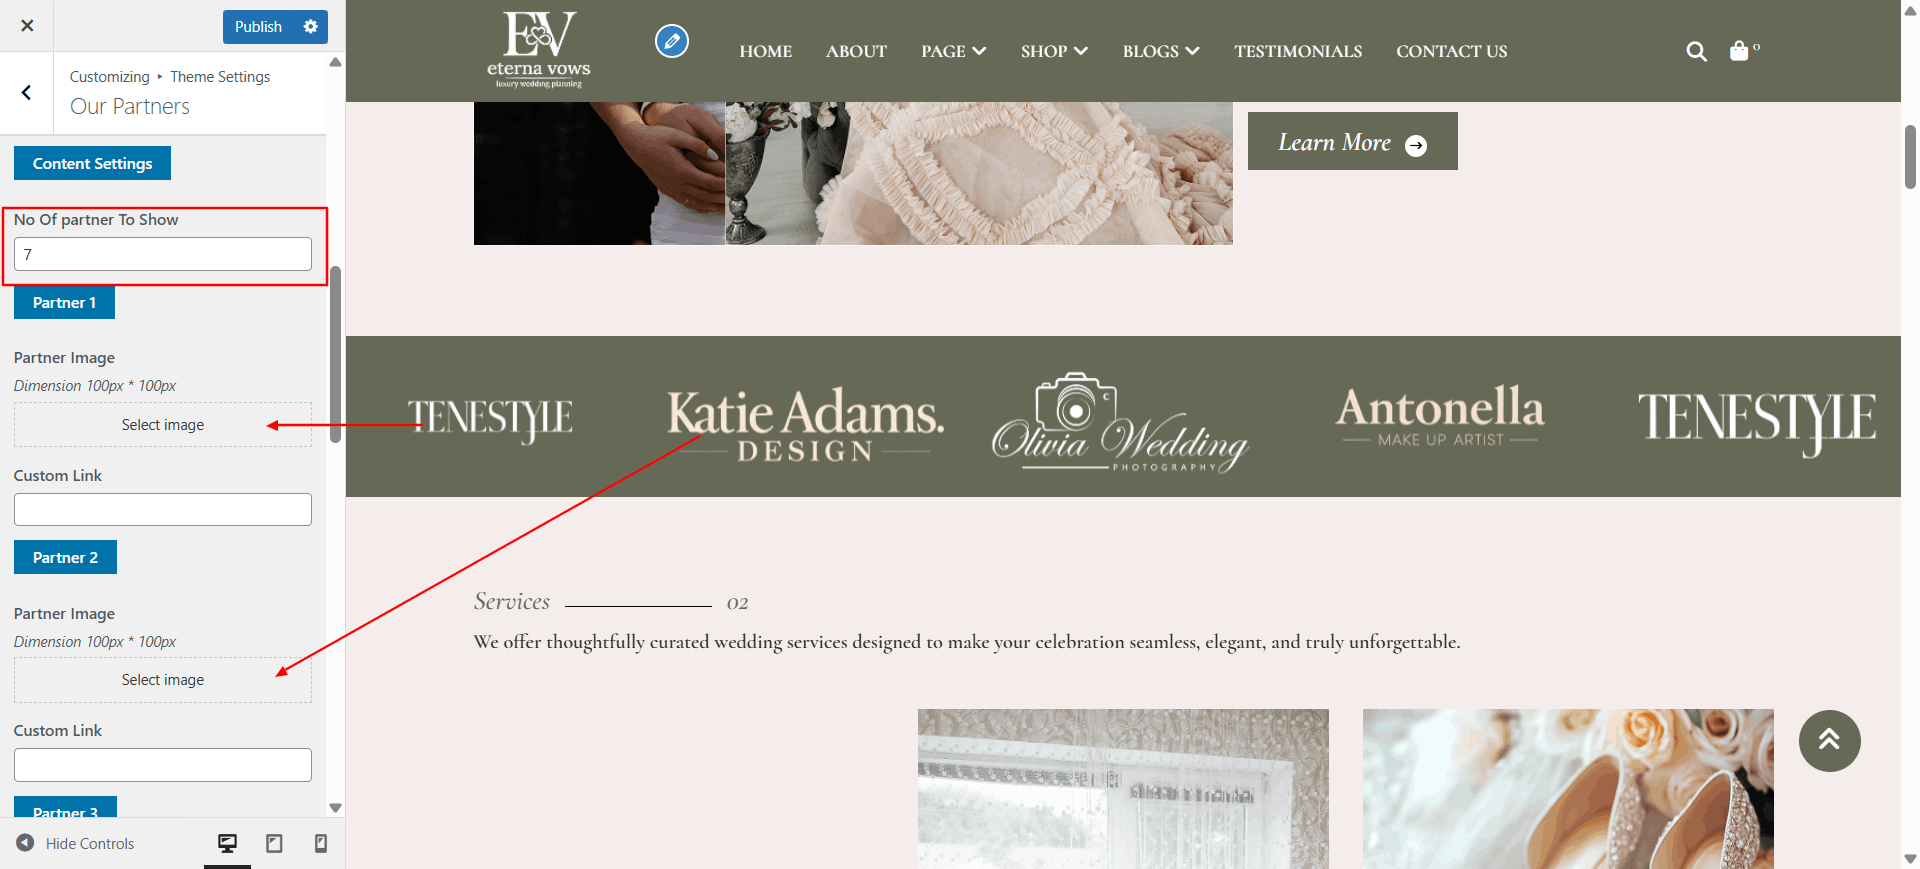
Scroll down to see all the color customization options for this section.
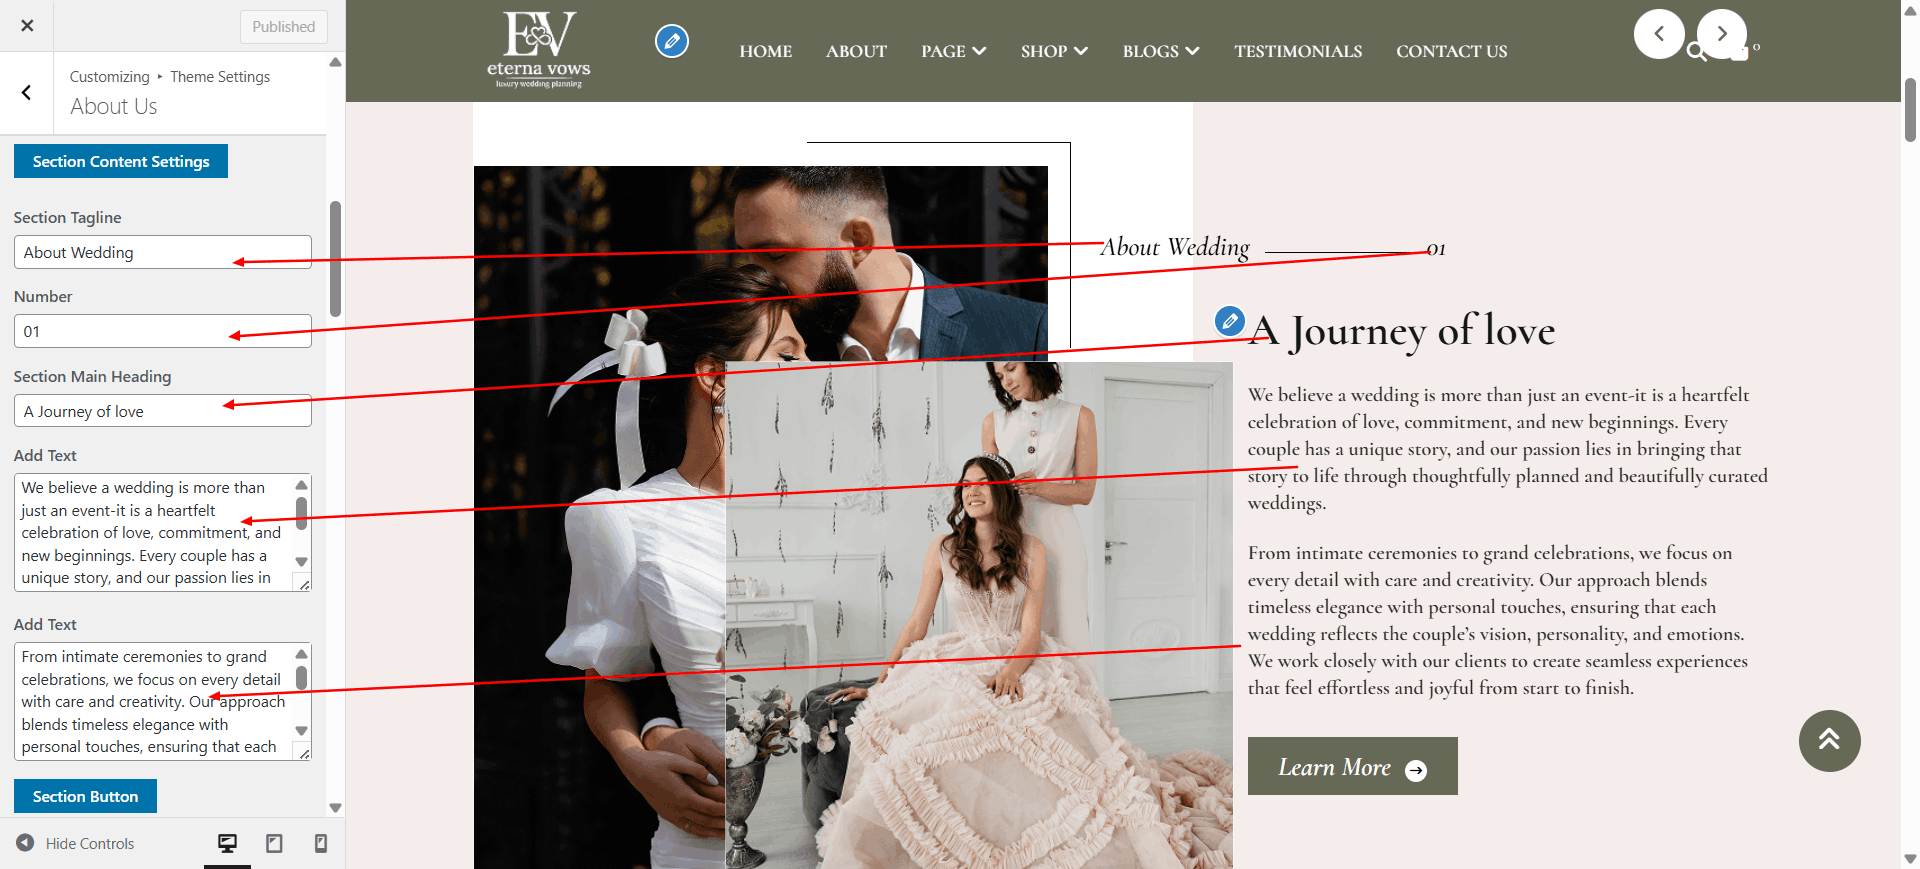
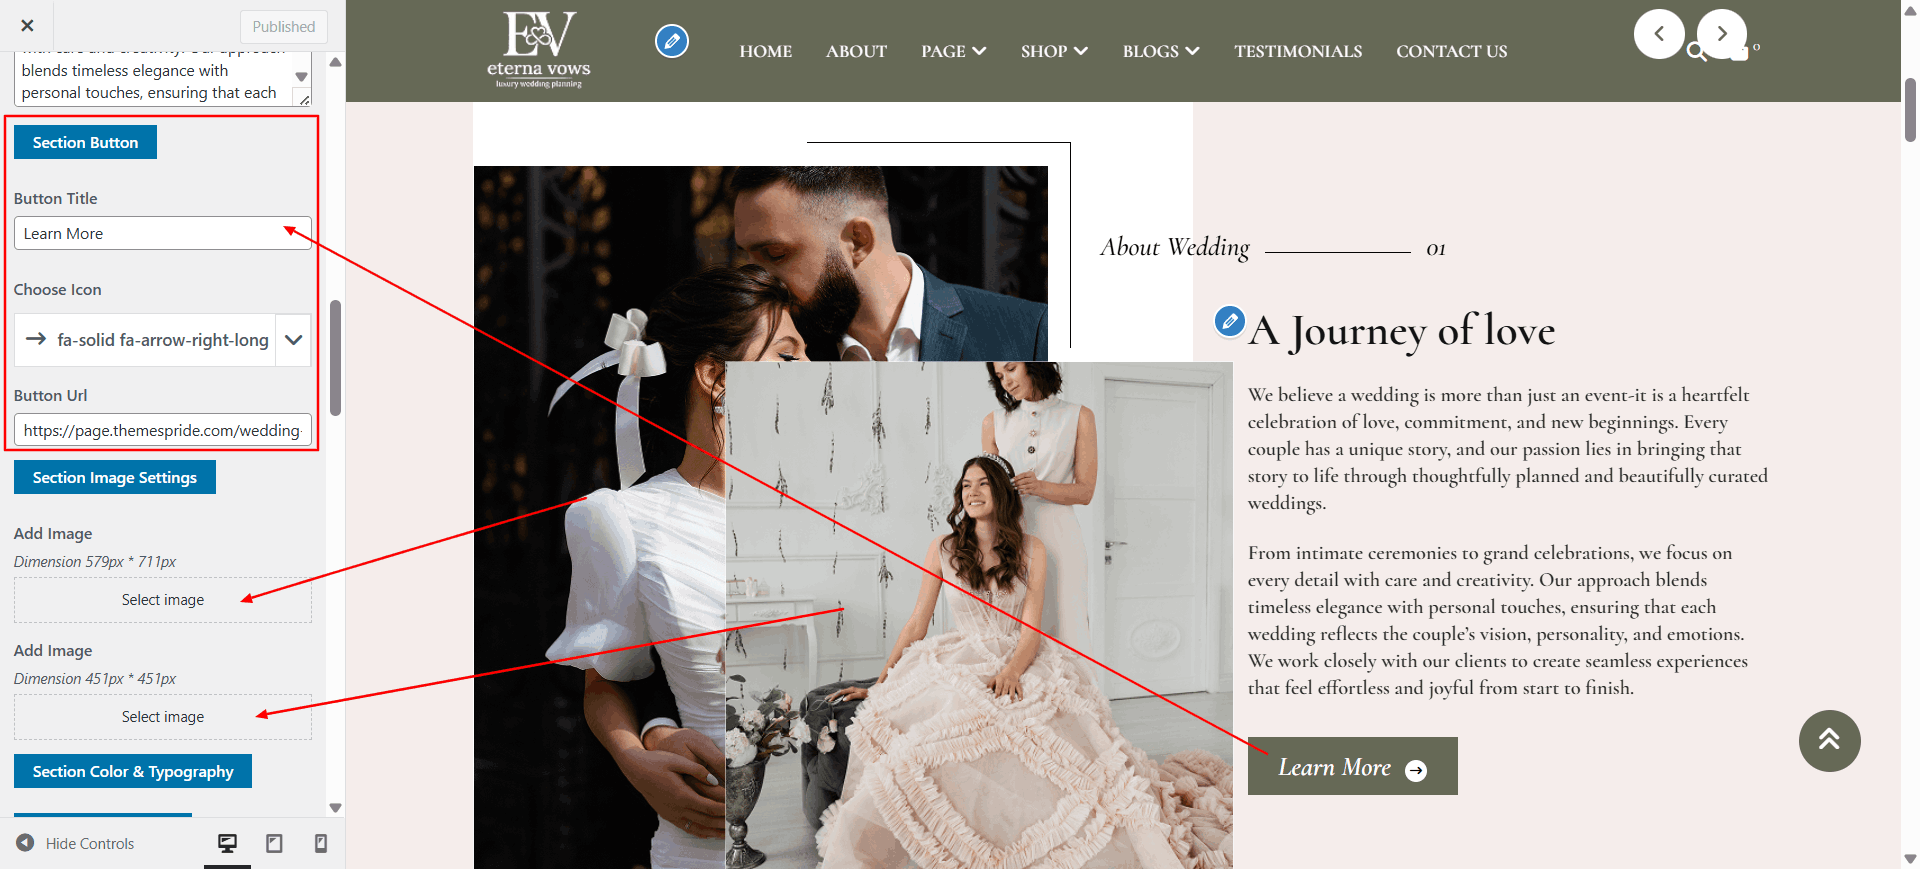
Configure "About Us"
Description: Add information about your agency, including images and background customization.
Open Theme Settings → About Us in the Customizer.
Customize background color and image settings using the available options.
Update content as specified in the below screenshots.
Scroll down to access all color customization options for this section.
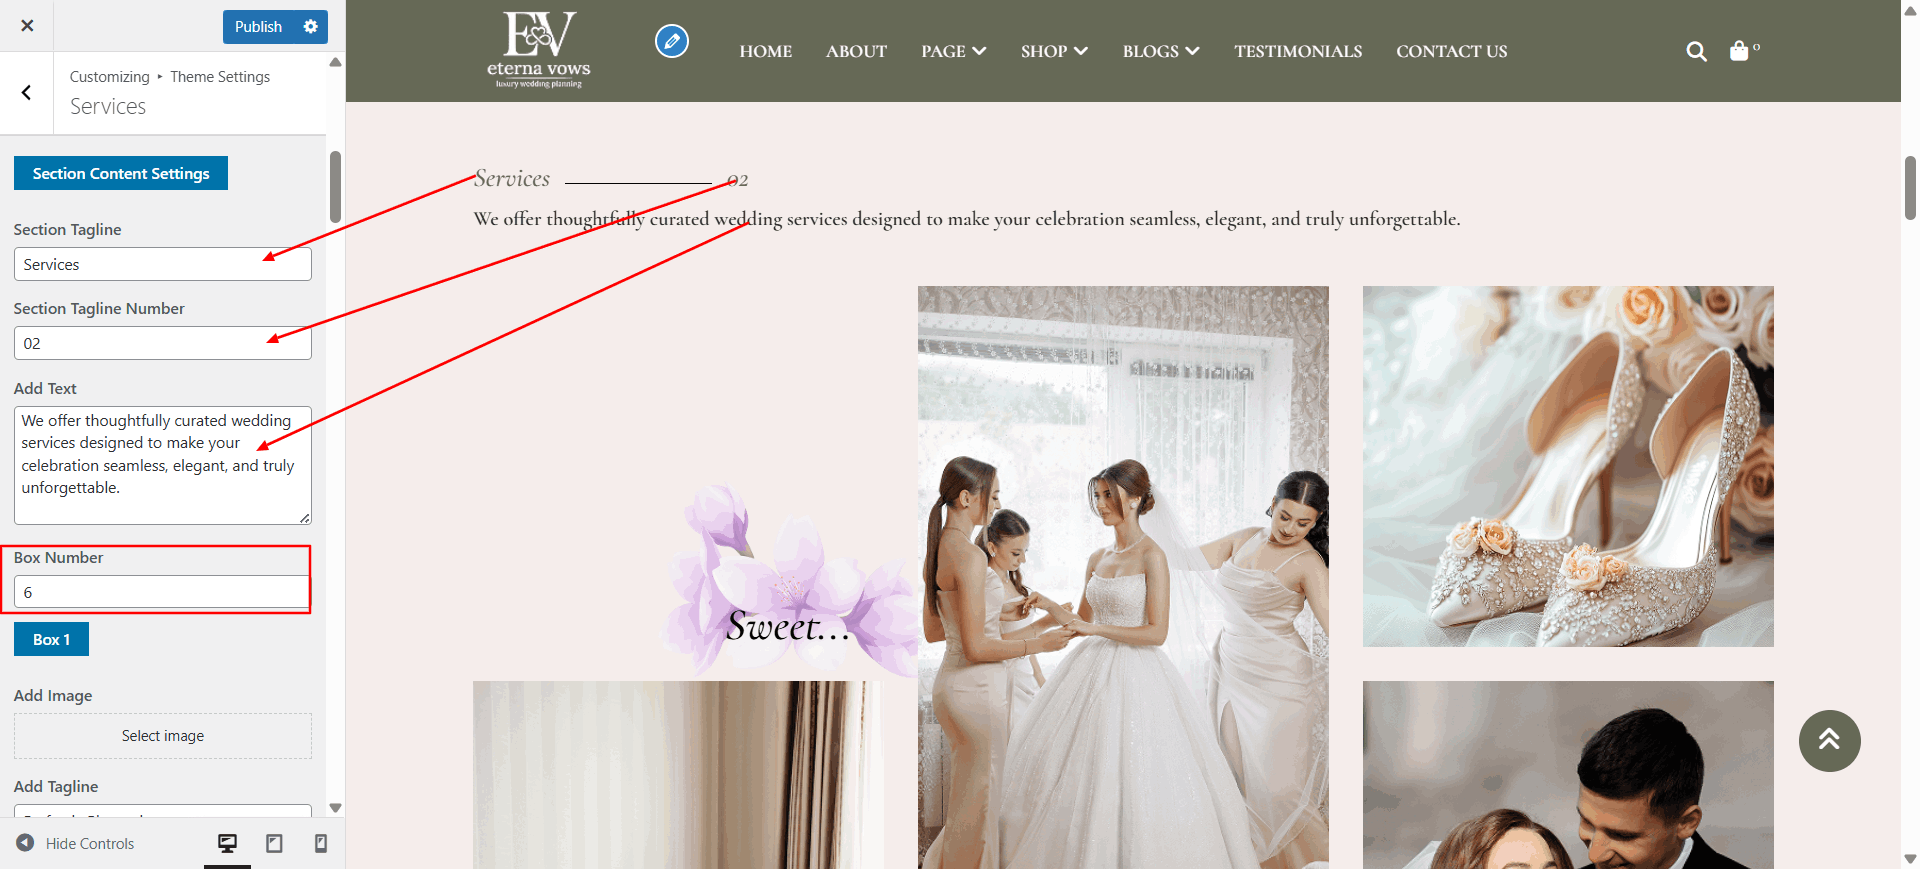
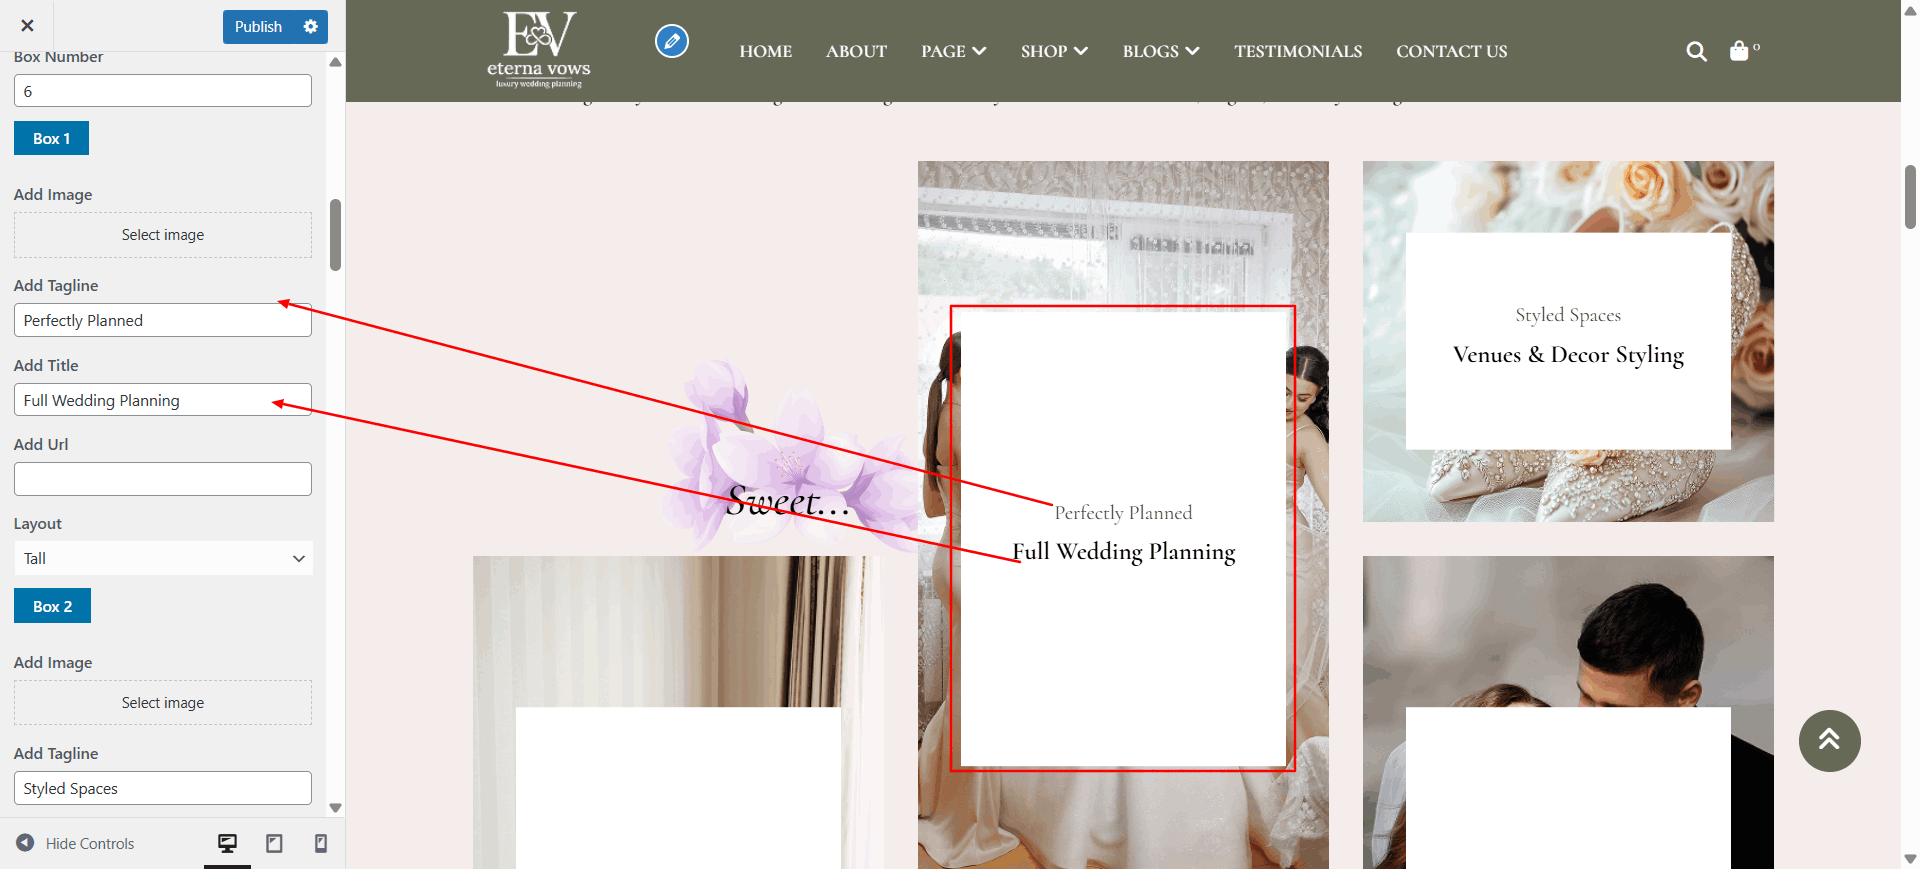
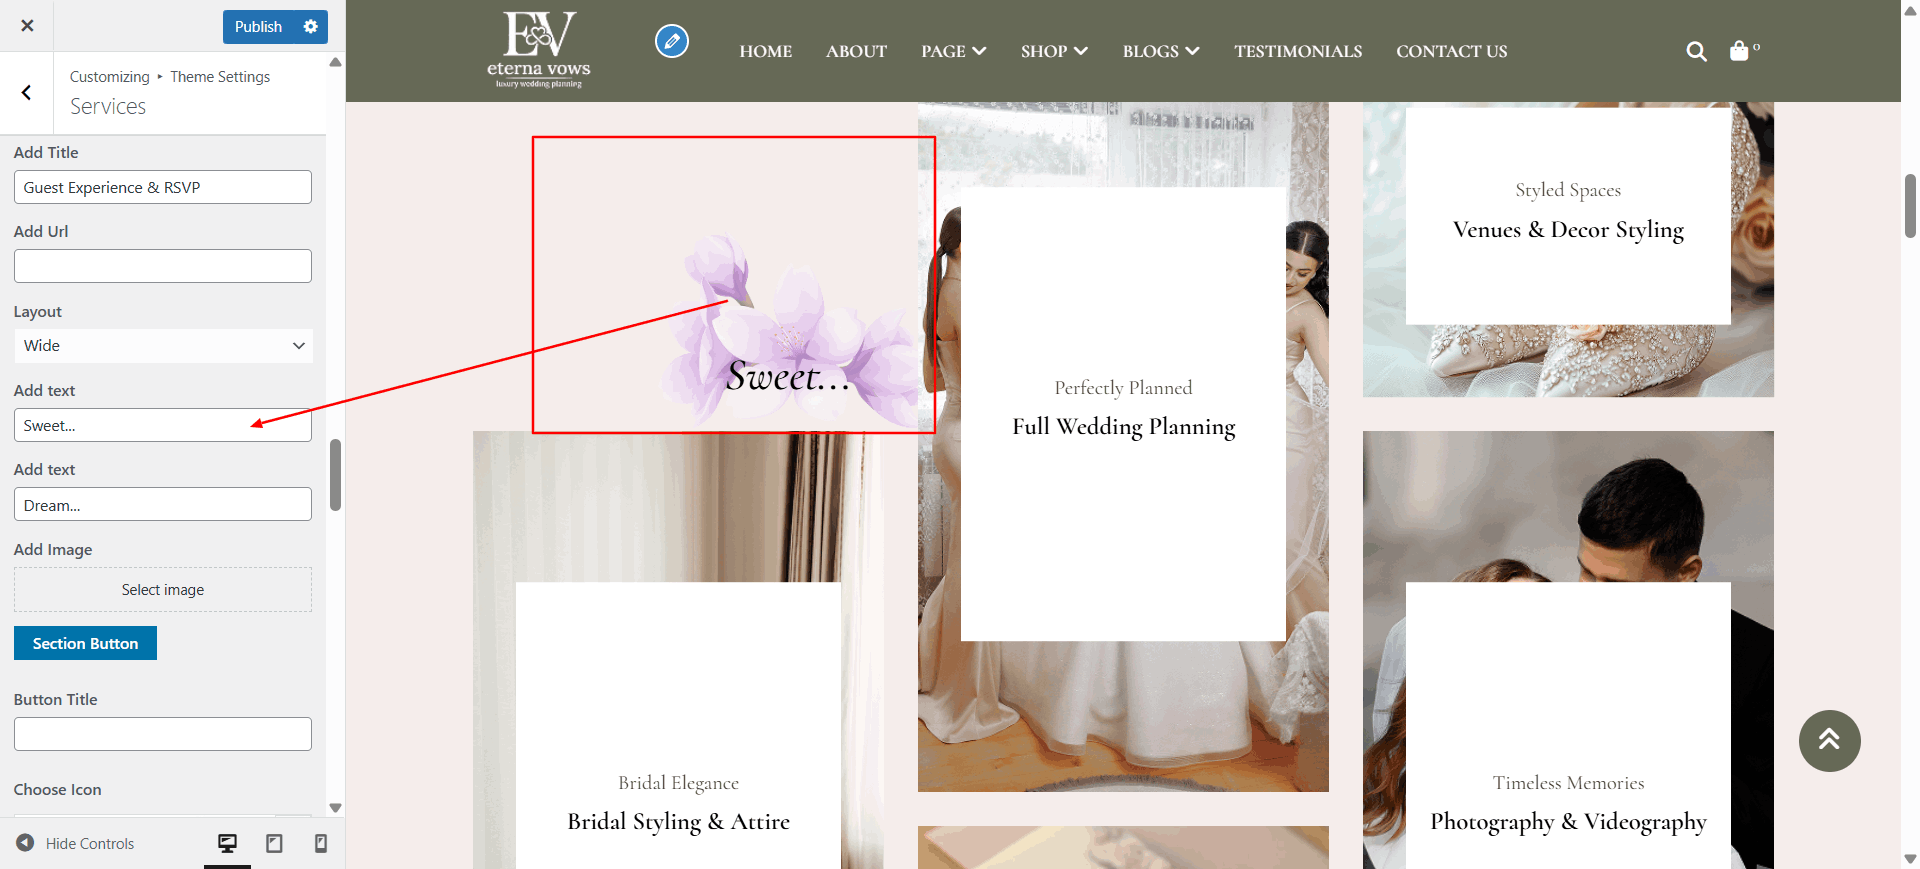
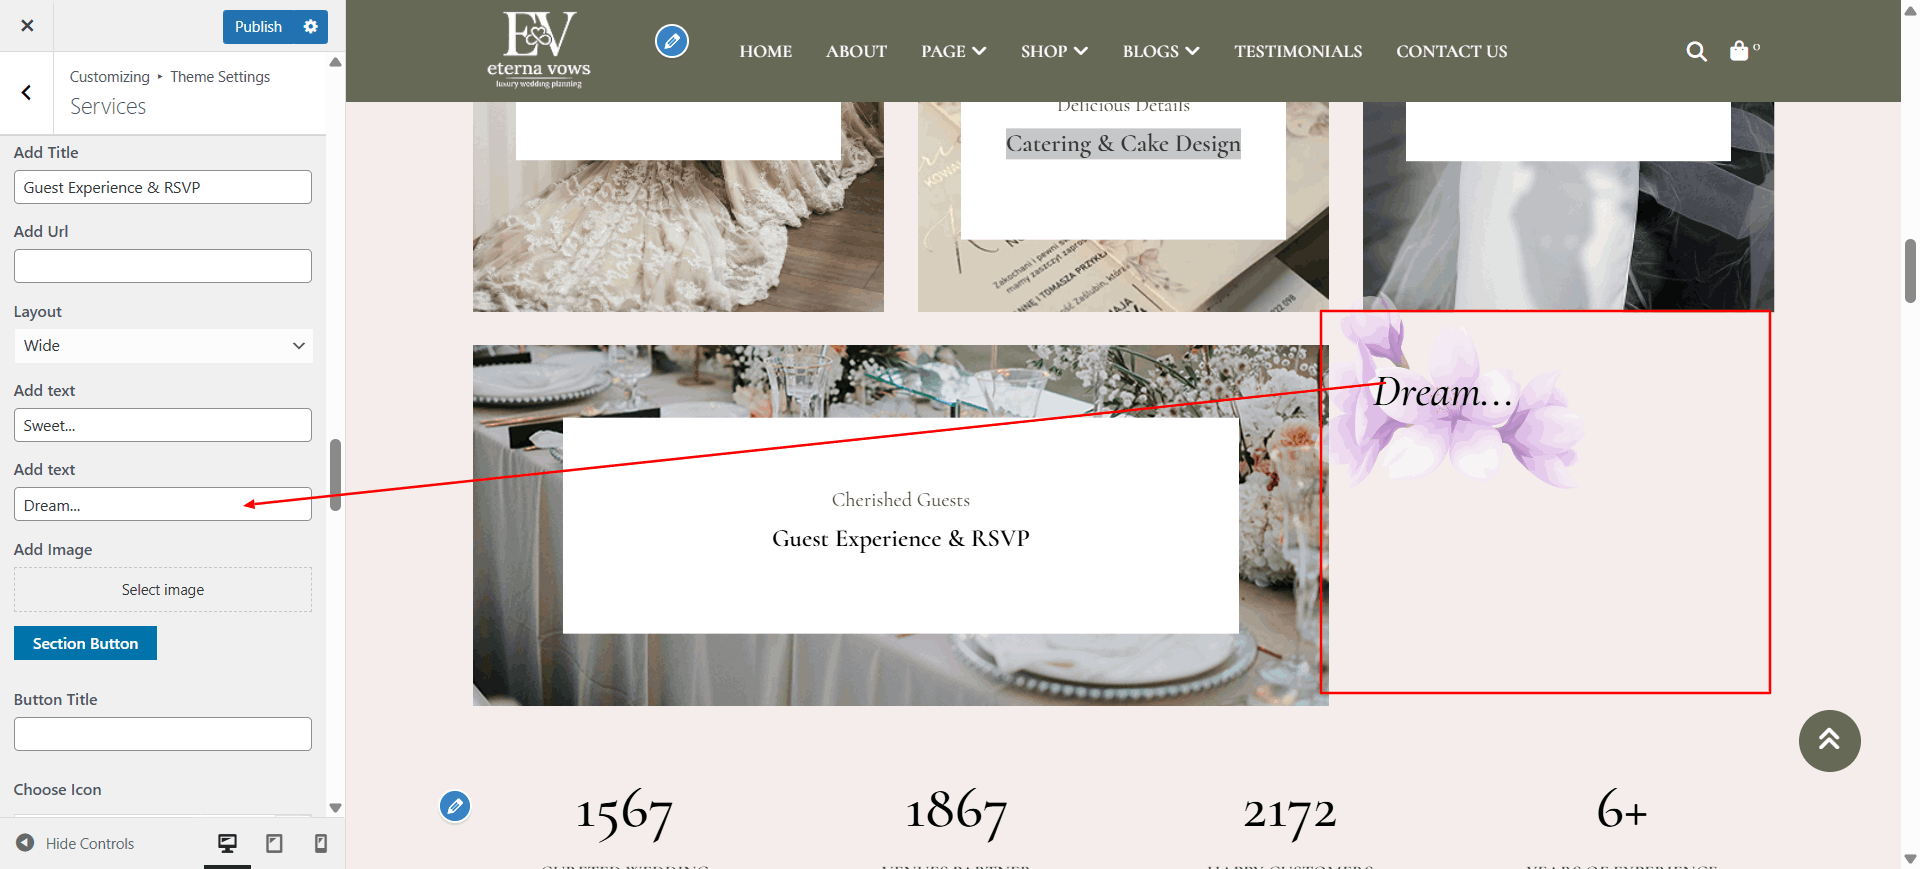
Configure "Services" Section
Description: Present curated serices with background and content options.
Open "Services" from the Theme Settings panel in the Customizer.
Update background visuals using "Background Color" and "Background Images".
Adjust the number of serices to show, and fill in each box with your content.
Scroll down to see all the color customization options for this section.
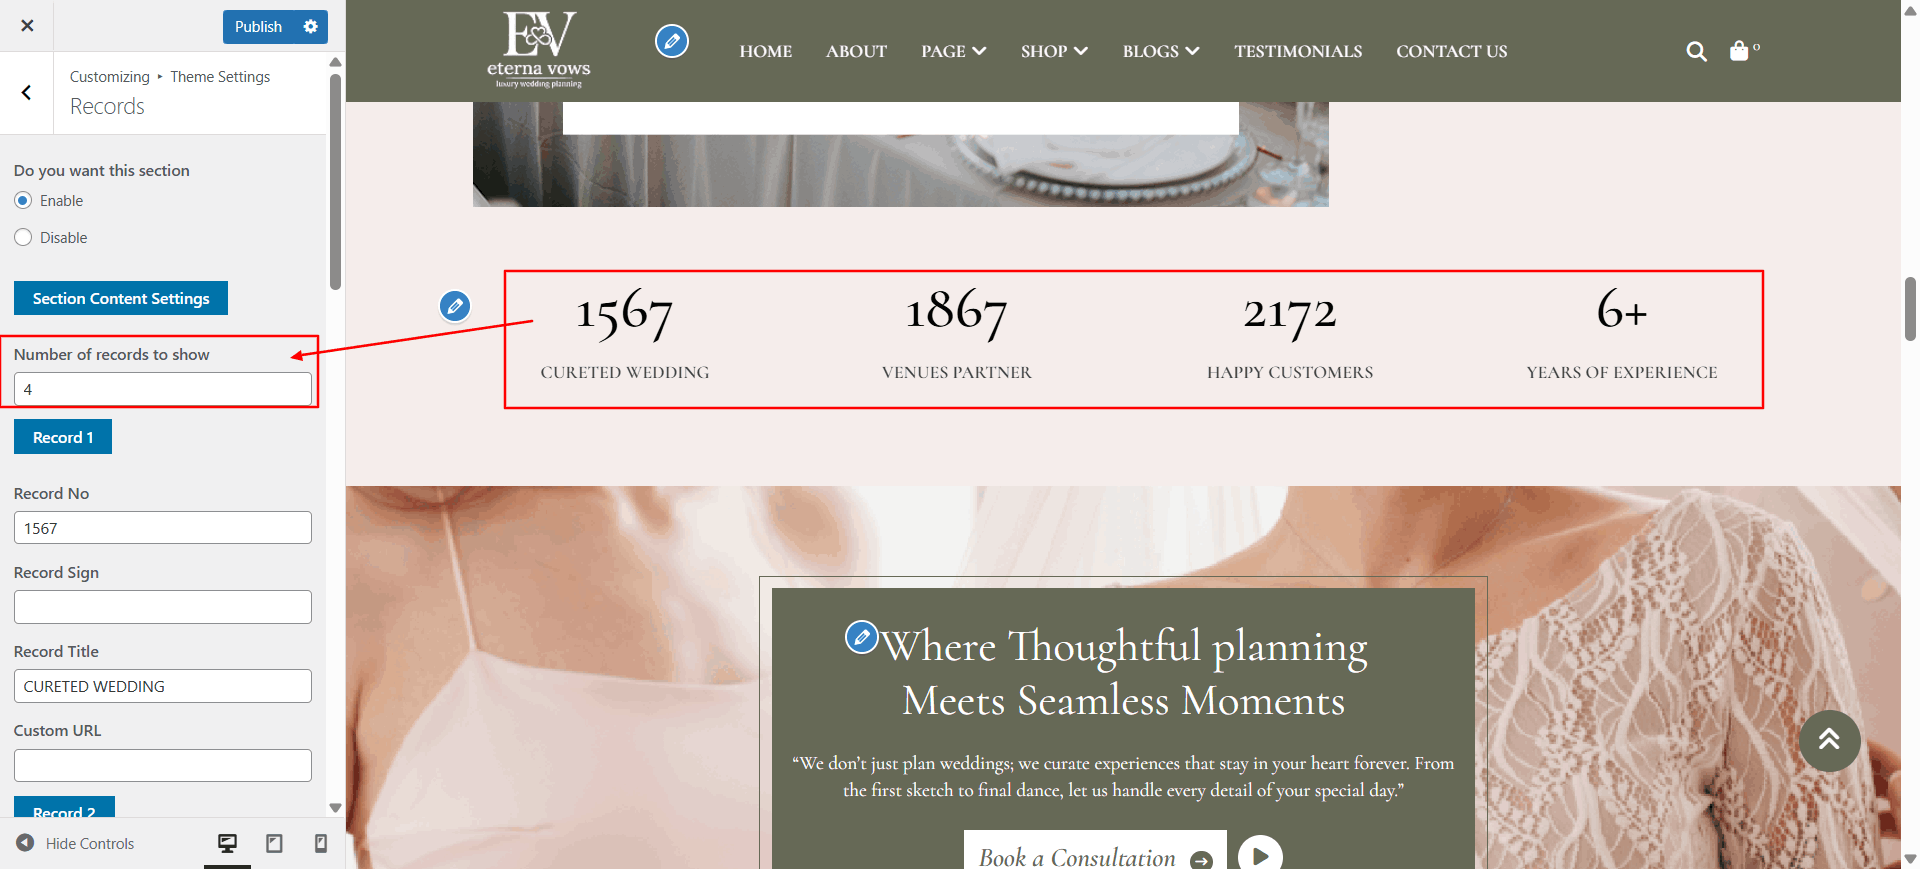
Configure "Records" Section
Description: Showcase your agency's achievements and records in this section.
Open "Records" from the Theme Settings panel in the Customizer.
Update the content as specified below.

Scroll down to see all the color customization options for this section.
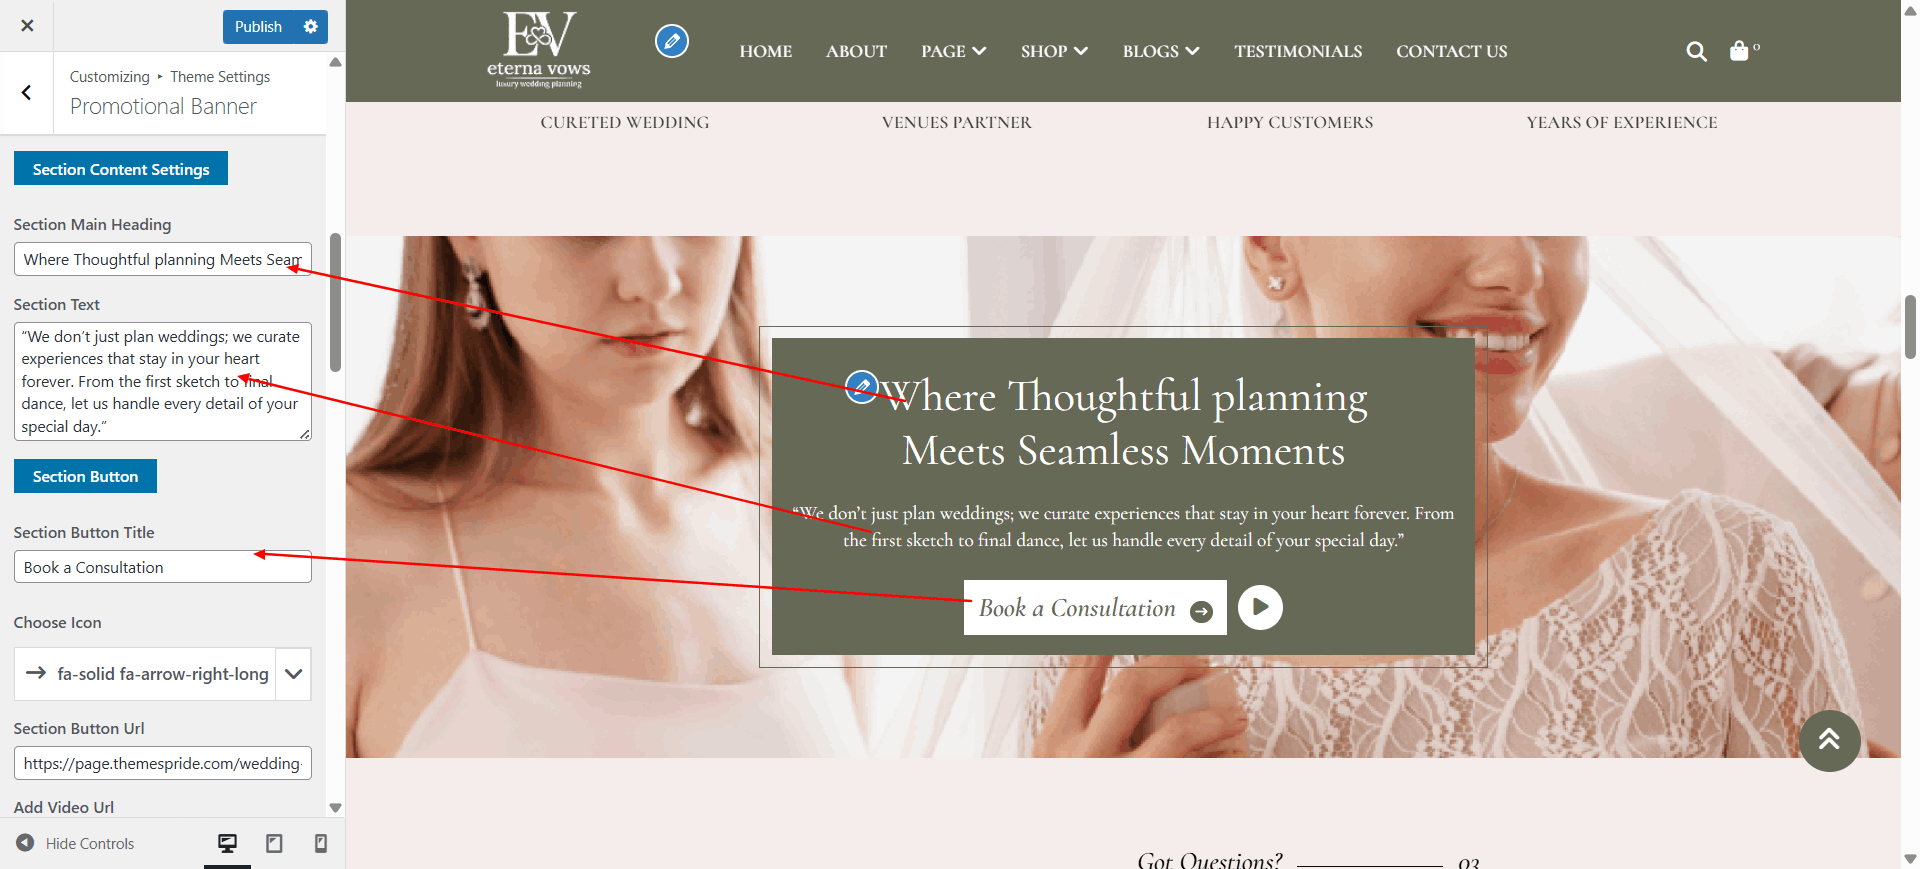
Configure "Promotional Banner" Section
Description: Showcase your Offer's and discount in this section.
Open "Promotional Banner" from the Theme Settings panel in the Customizer.
Update the content as specified below.
Scroll down to see all the color customization options for this section.
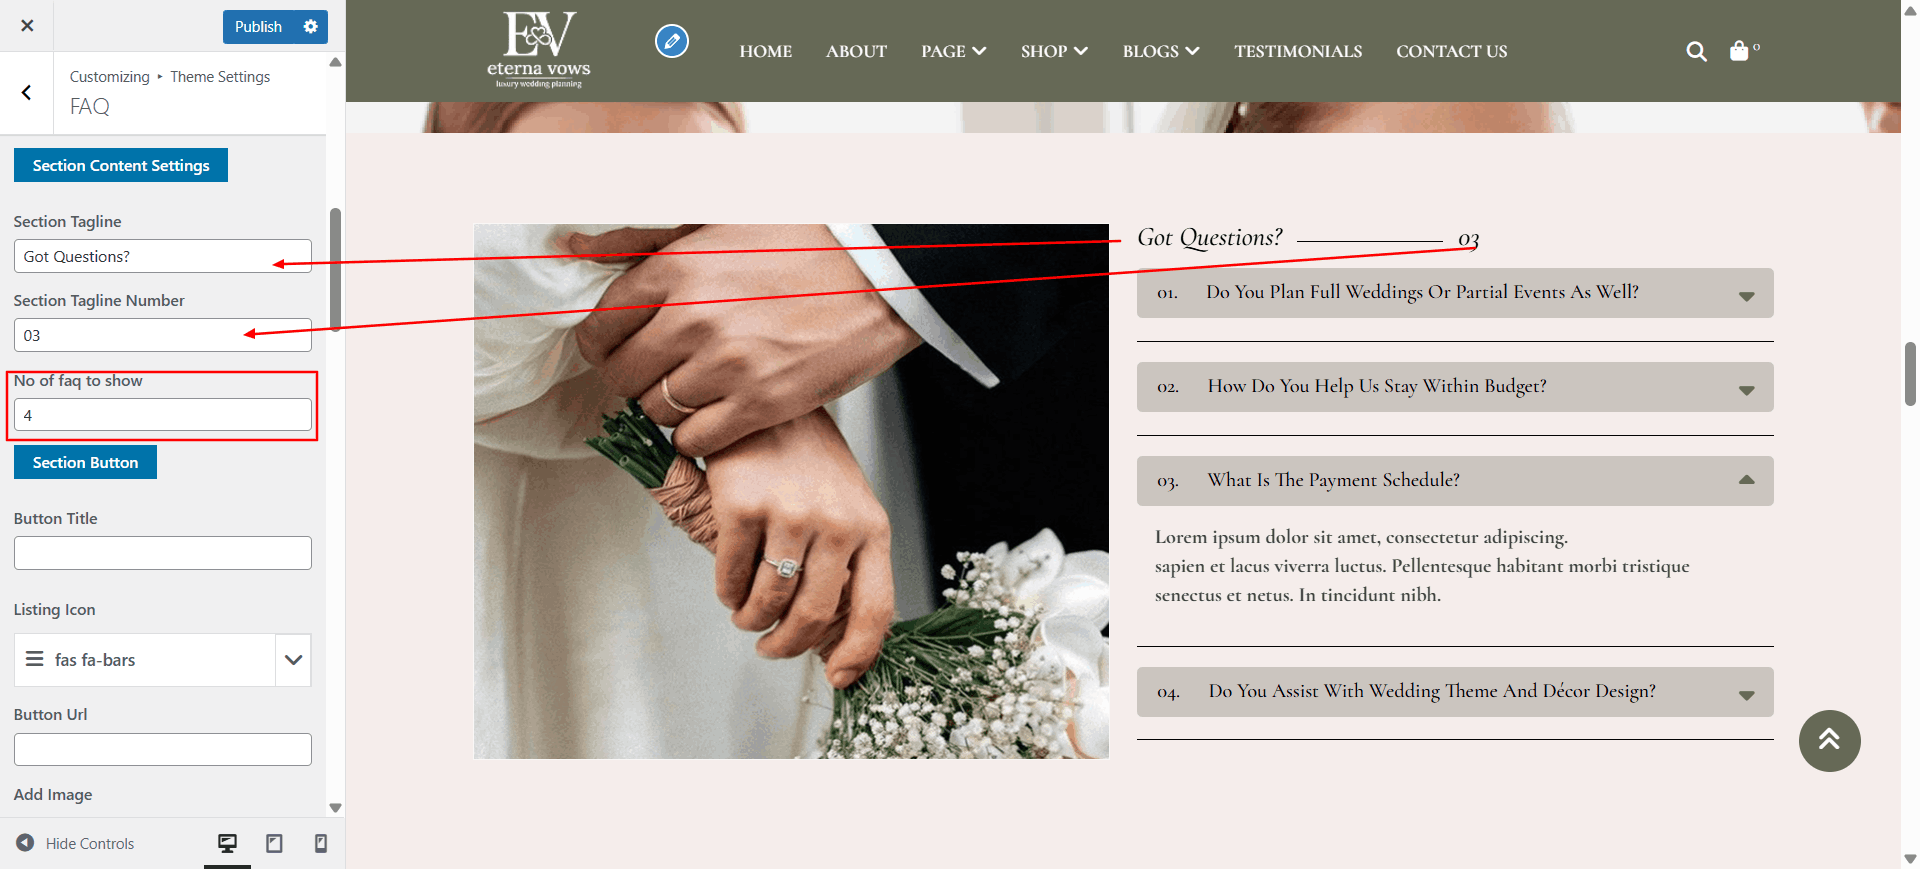
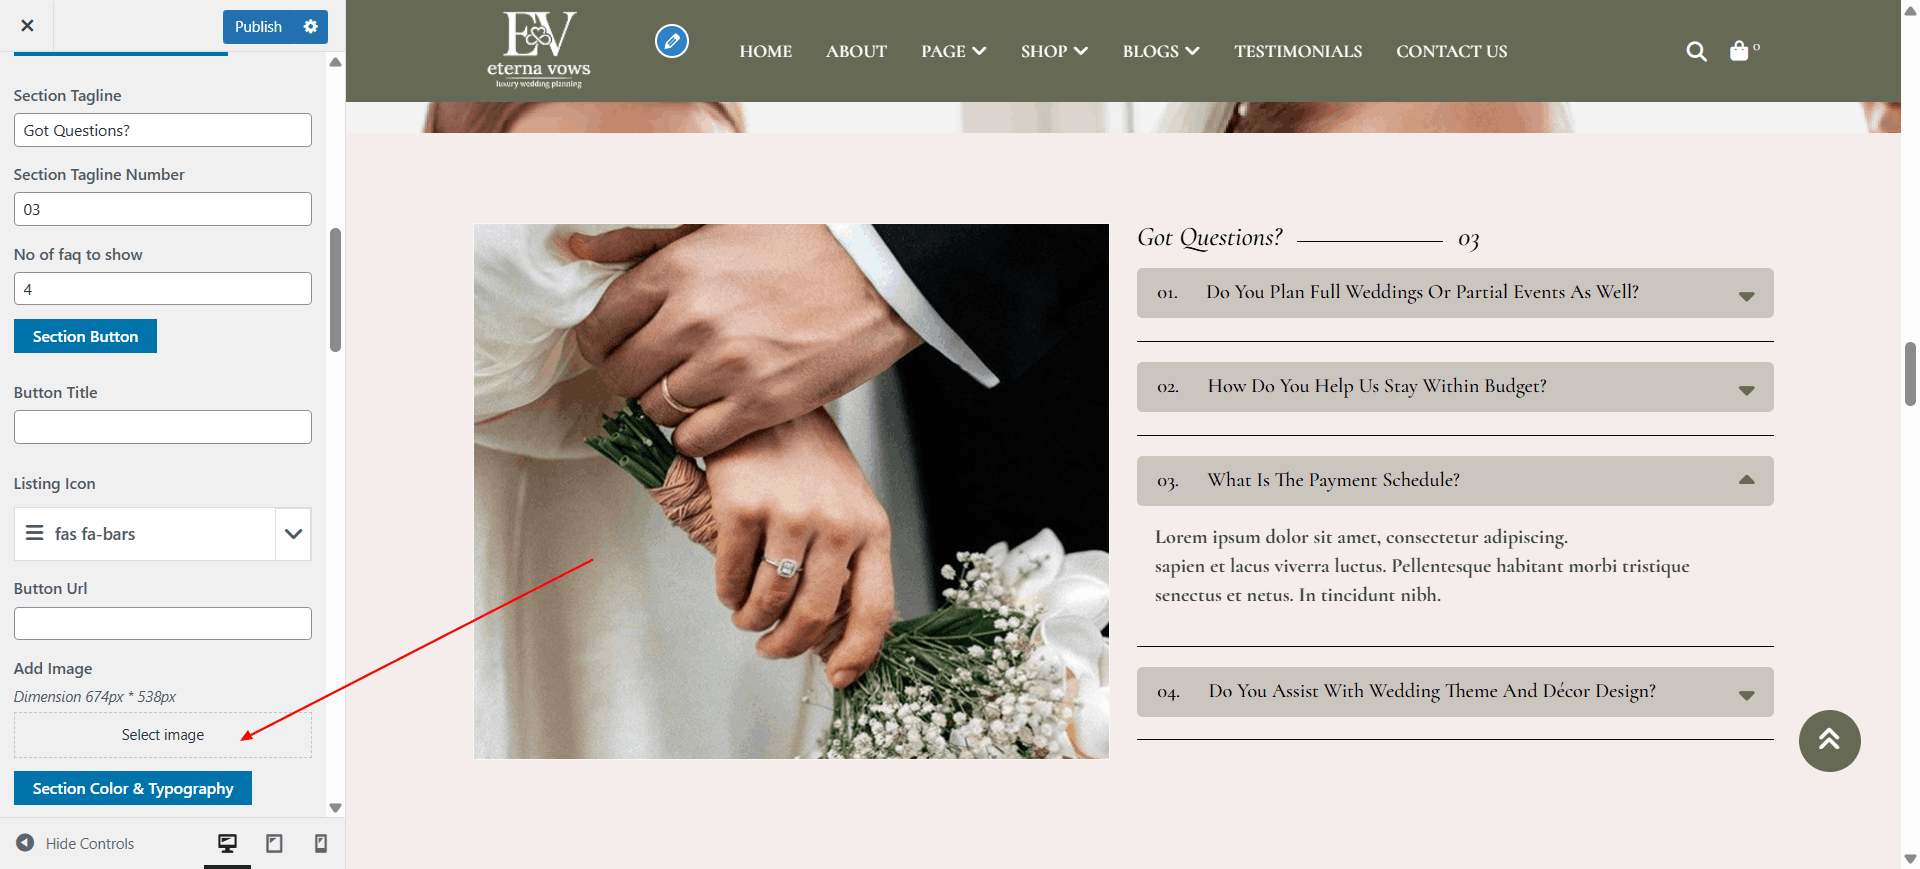
Configure "Faq" Section
Description: Feature your best faq with customizable backgrounds and content.
Open "Faq" from the Theme Settings panel in the Customizer.
Update background visuals using "Background Color" and "Background Images".
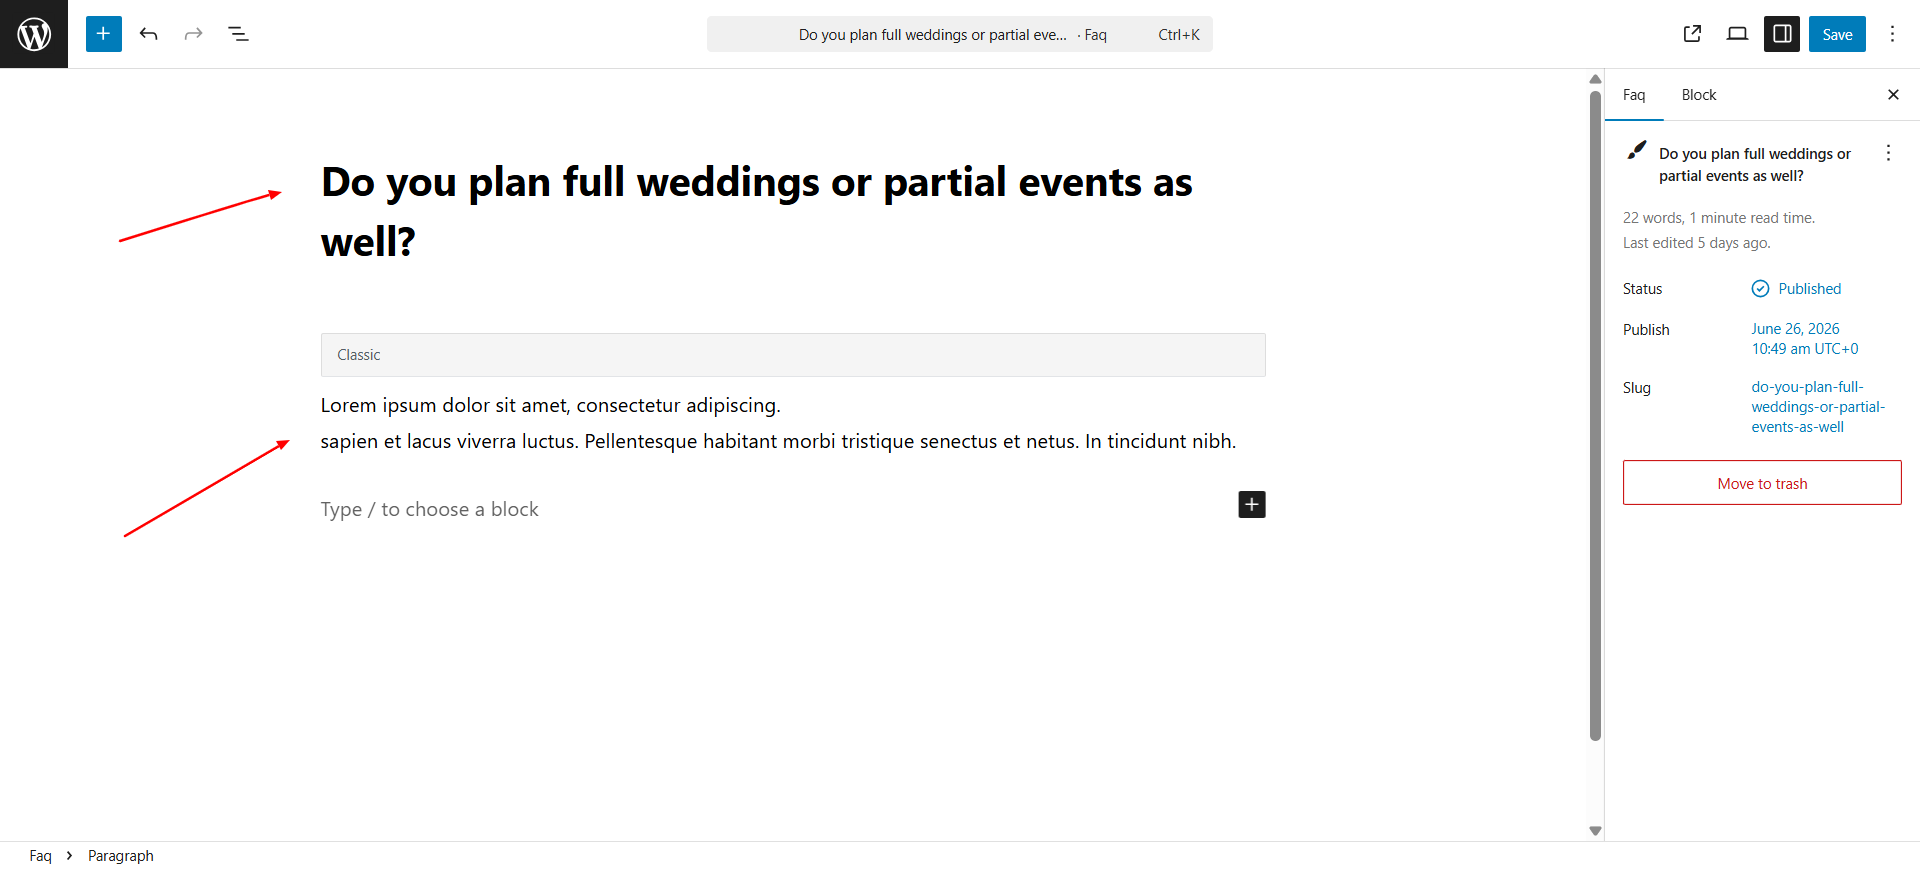
Adjust the number of Faq to show, and fill in each box with your content.
Go to Dashboard → Faq to view demo Faq.
Scroll down to see all the color customization options for this section.
Configure "Faq" Section
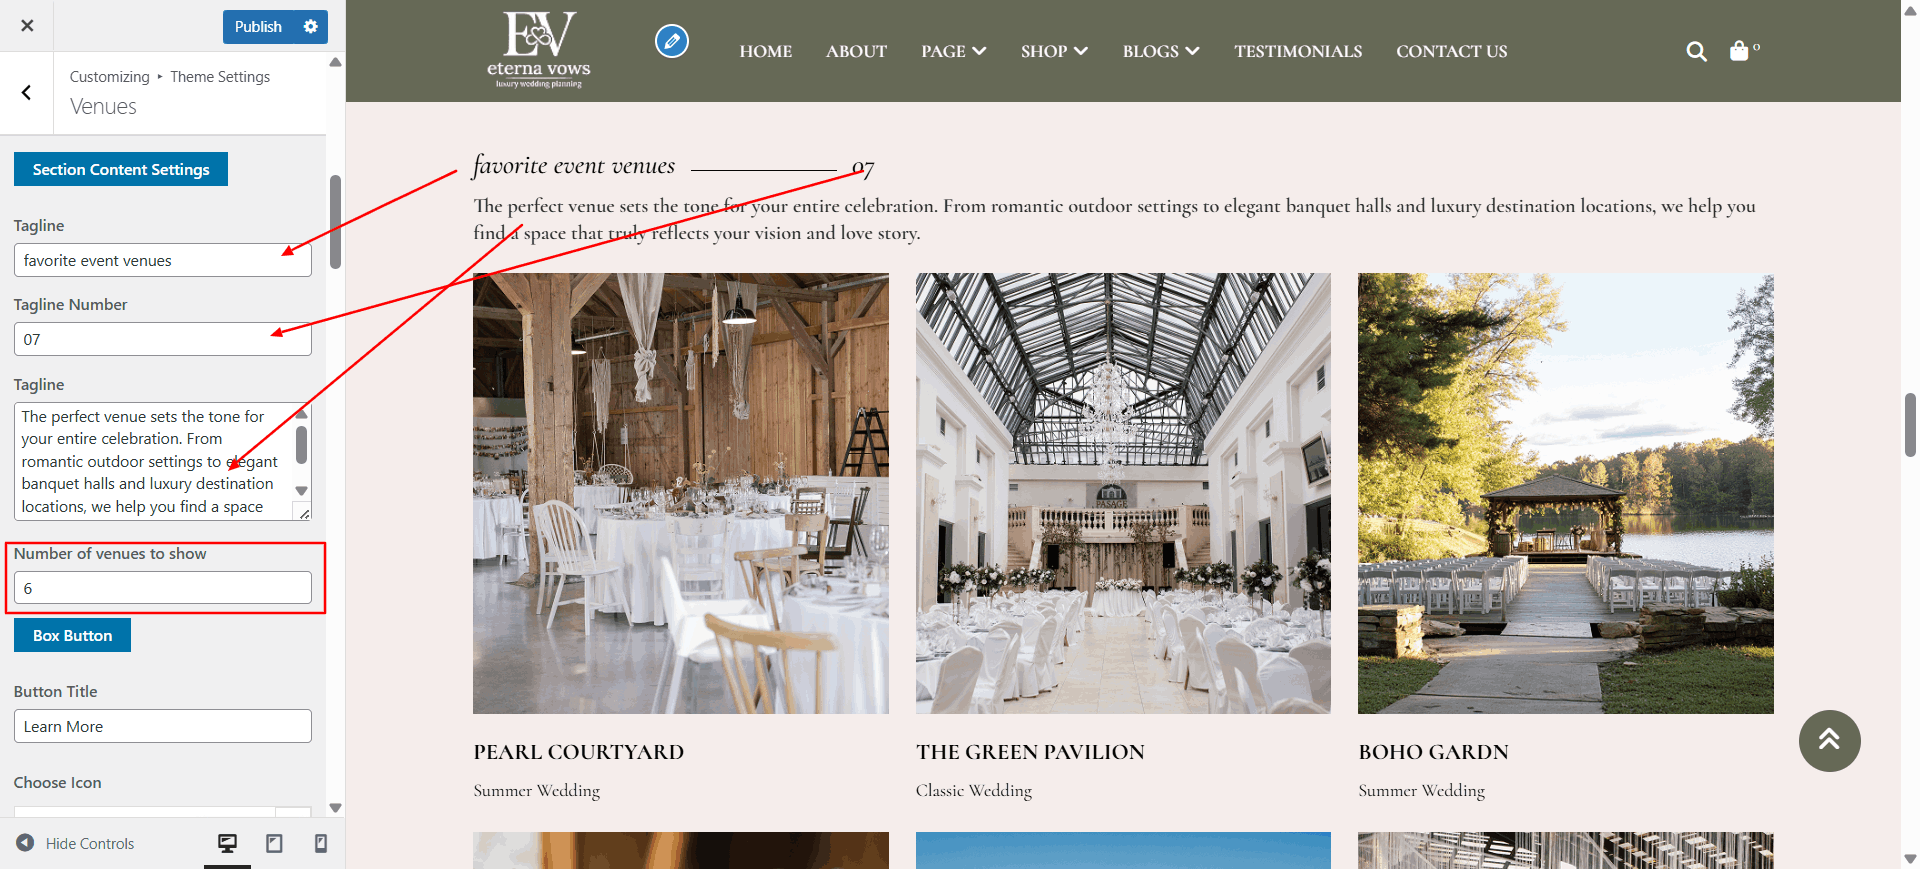
Description: Feature your best venue with customizable backgrounds and content.
Open "Venue" from the Theme Settings panel in the Customizer.
Update background visuals using "Background Color" and "Background Images".
Adjust the number of Venue to show, and fill in each box with your content.
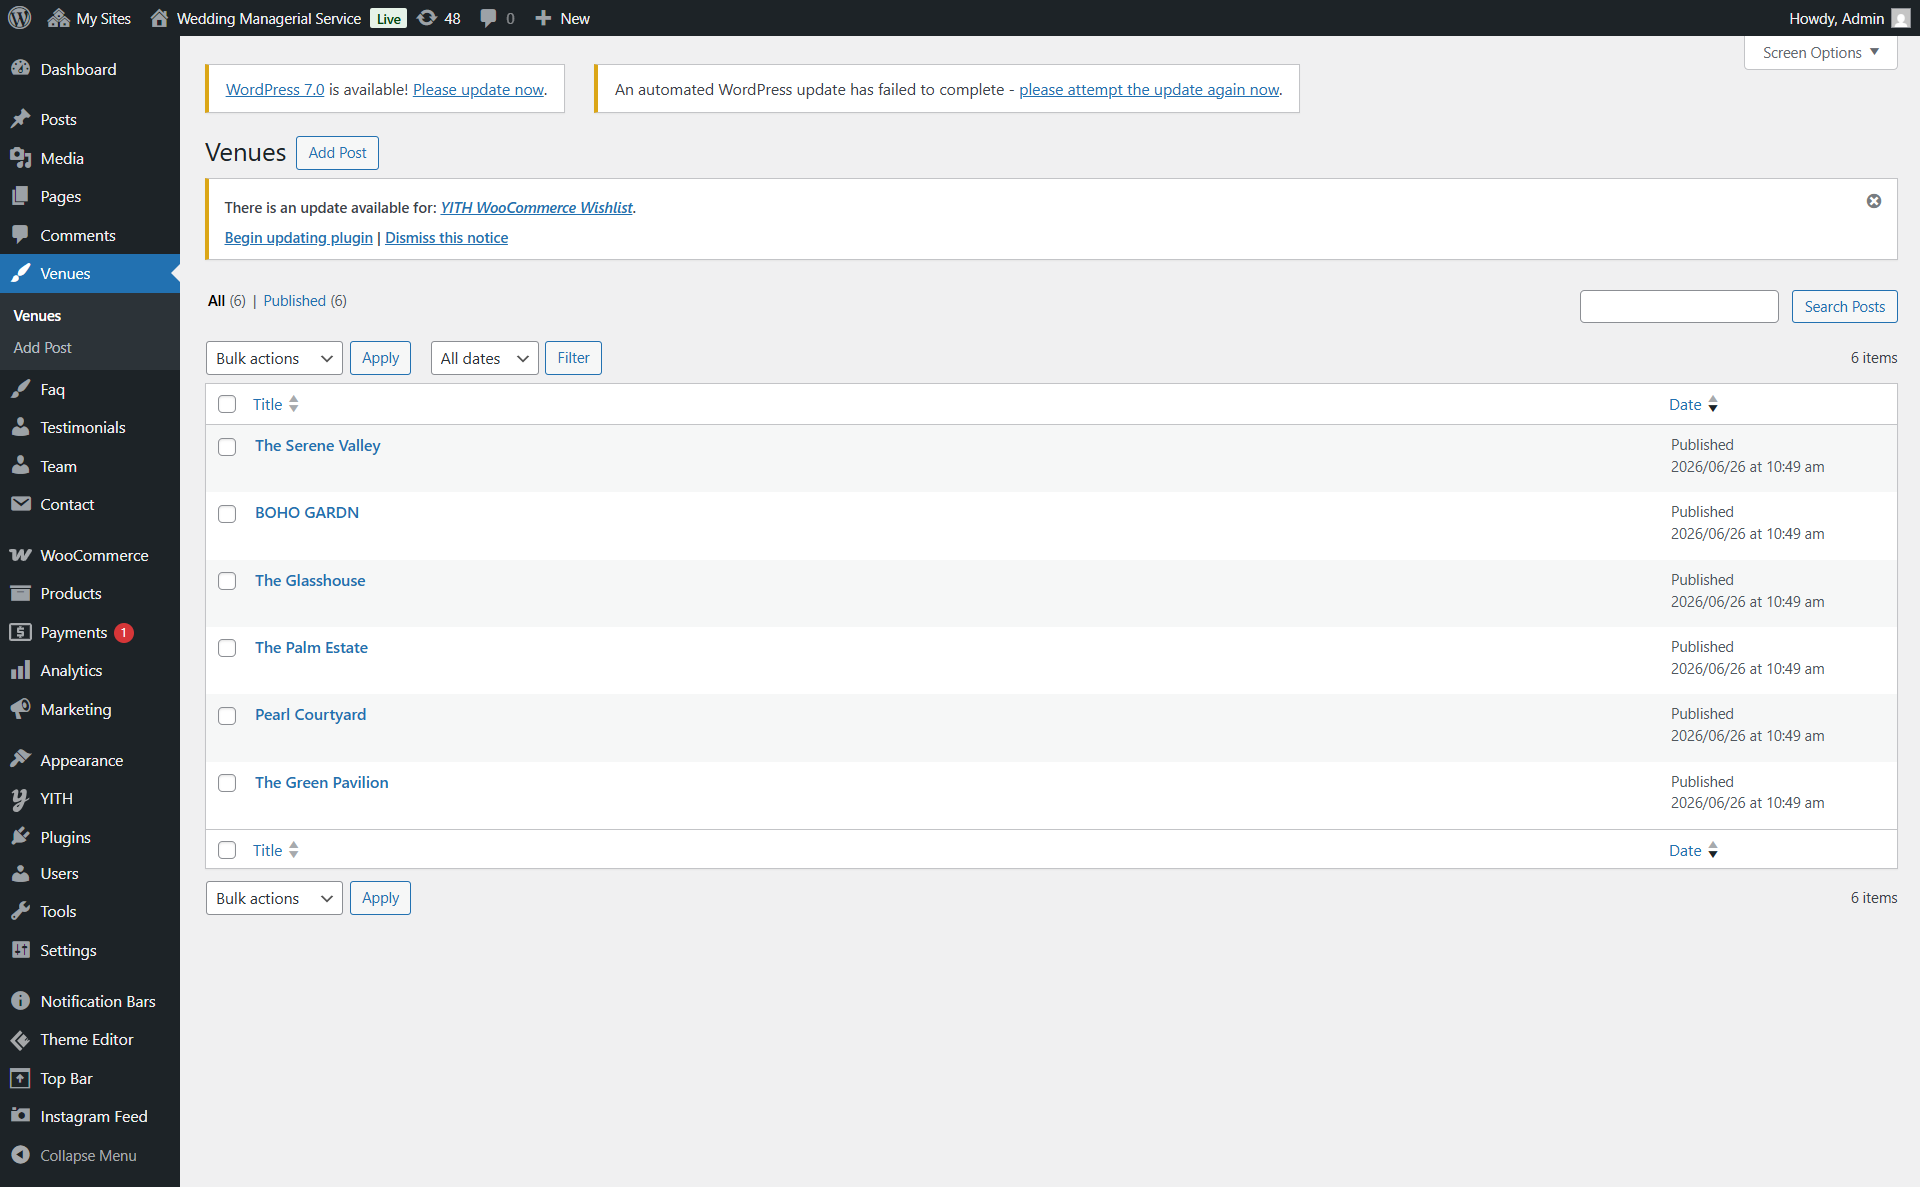
Go to Dashboard → Venue to view demo Venue.

Scroll down to see all the color customization options for this section.
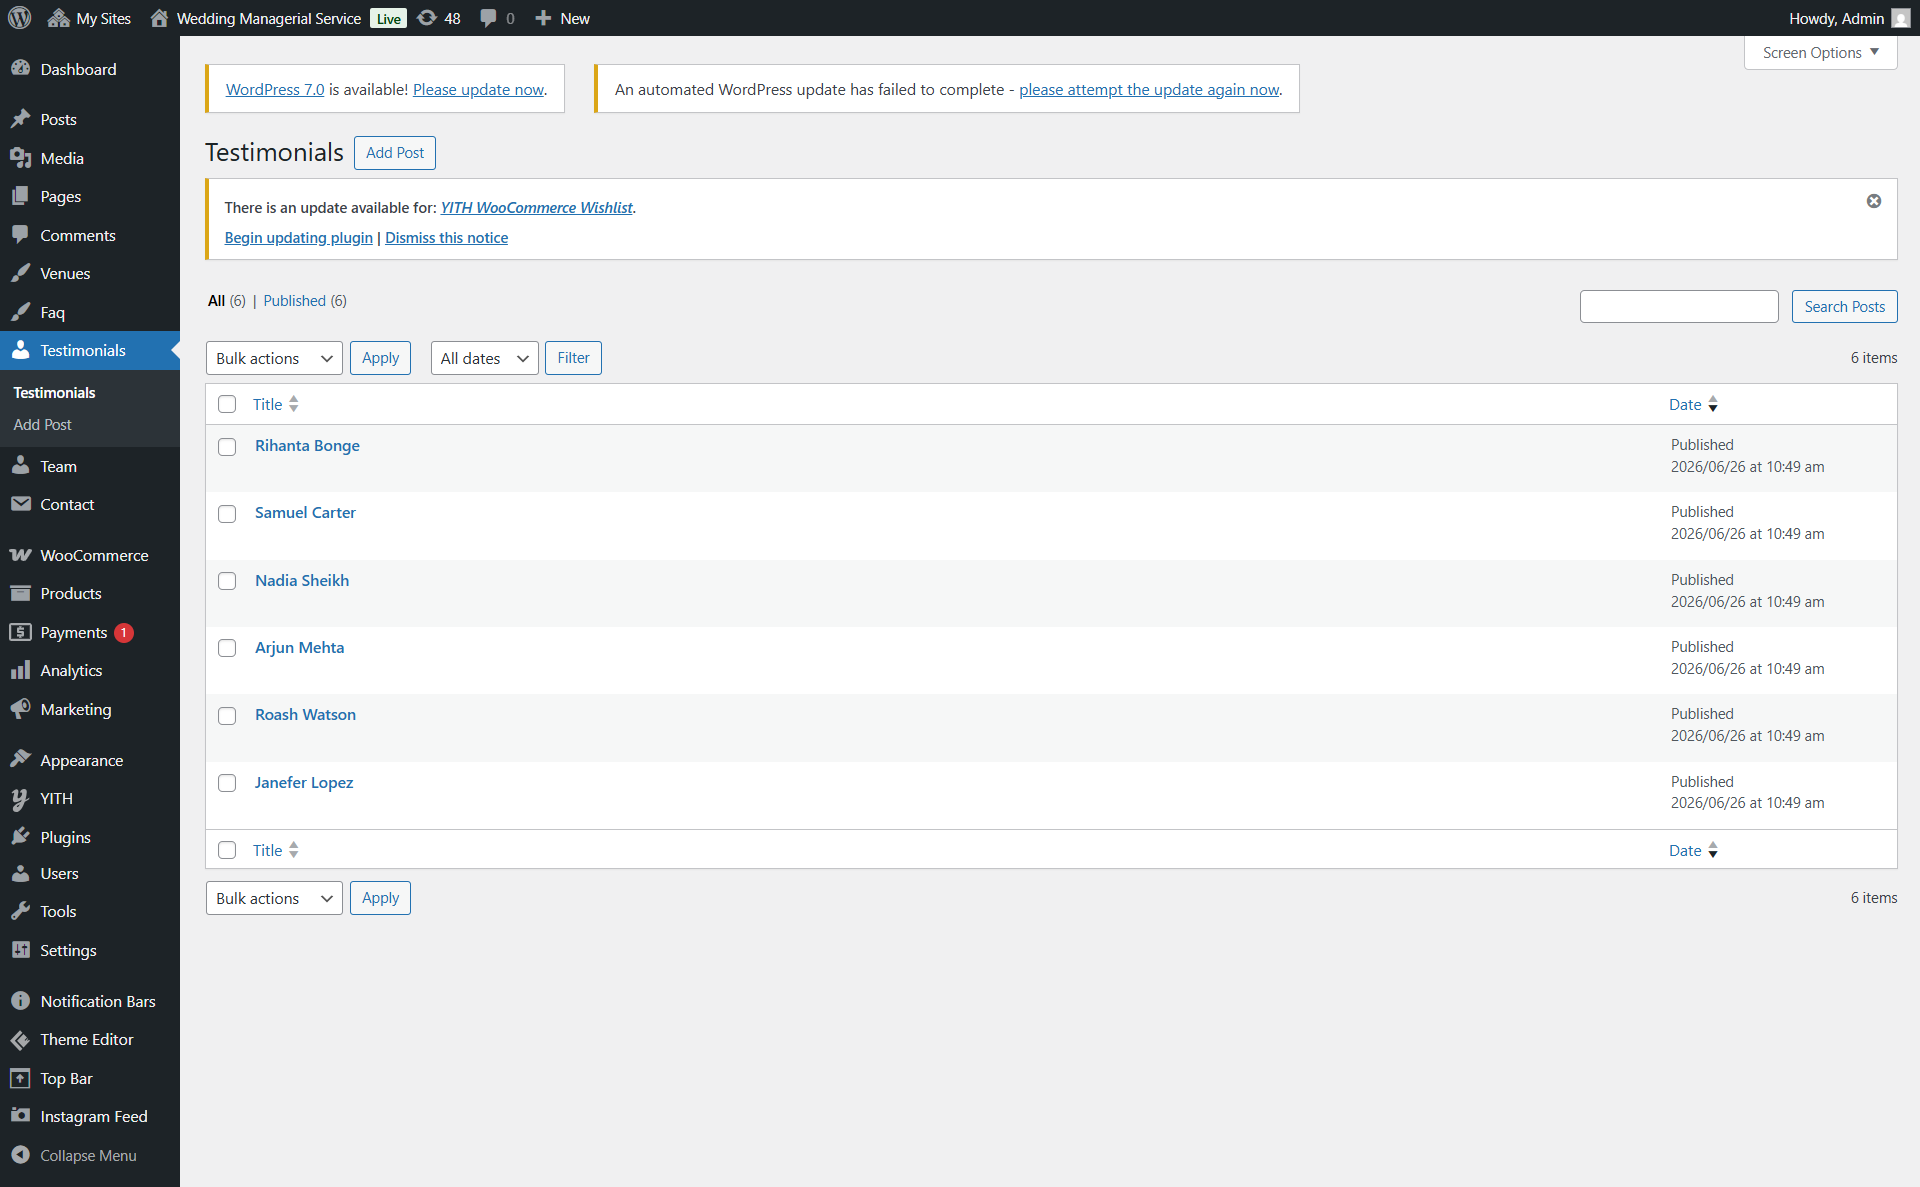
Configure "Testimonials" Section
Description: Share client testimonials and feedback to build trust.
Open "Testimonials" from the Theme Settings panel in the Customizer.
Update background visuals using "Background Color" and "Background Images".
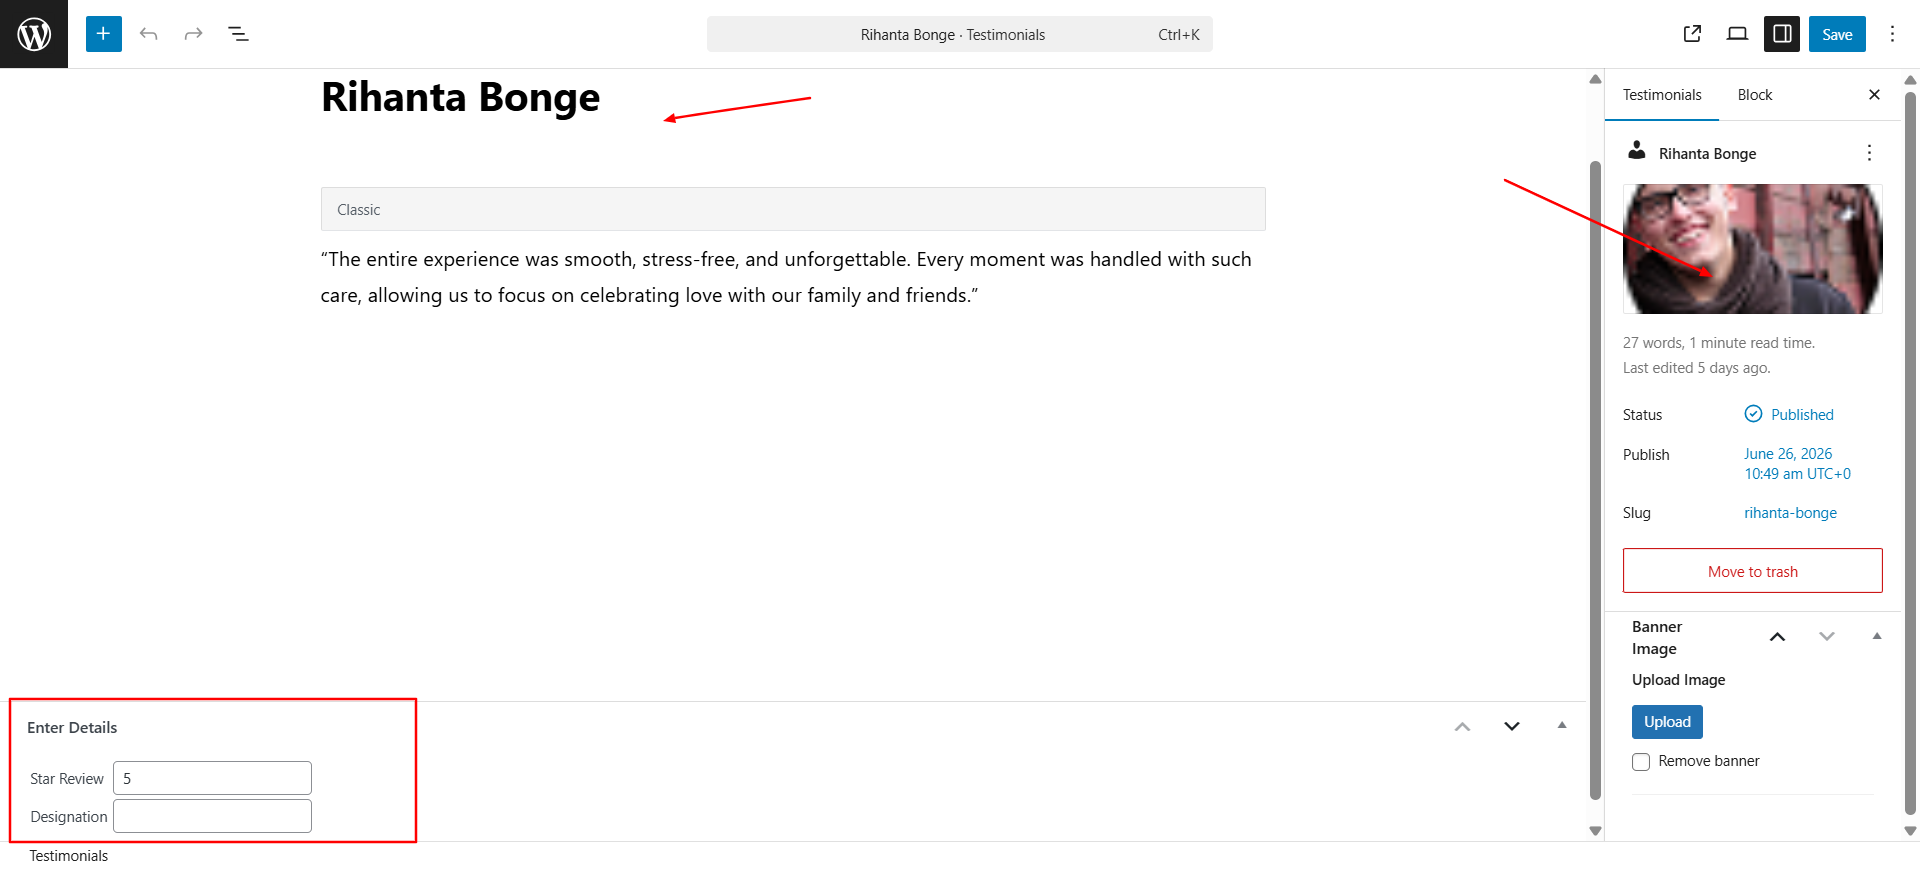
Adjust the number of Testimonials to show, and fill in each box with your content.
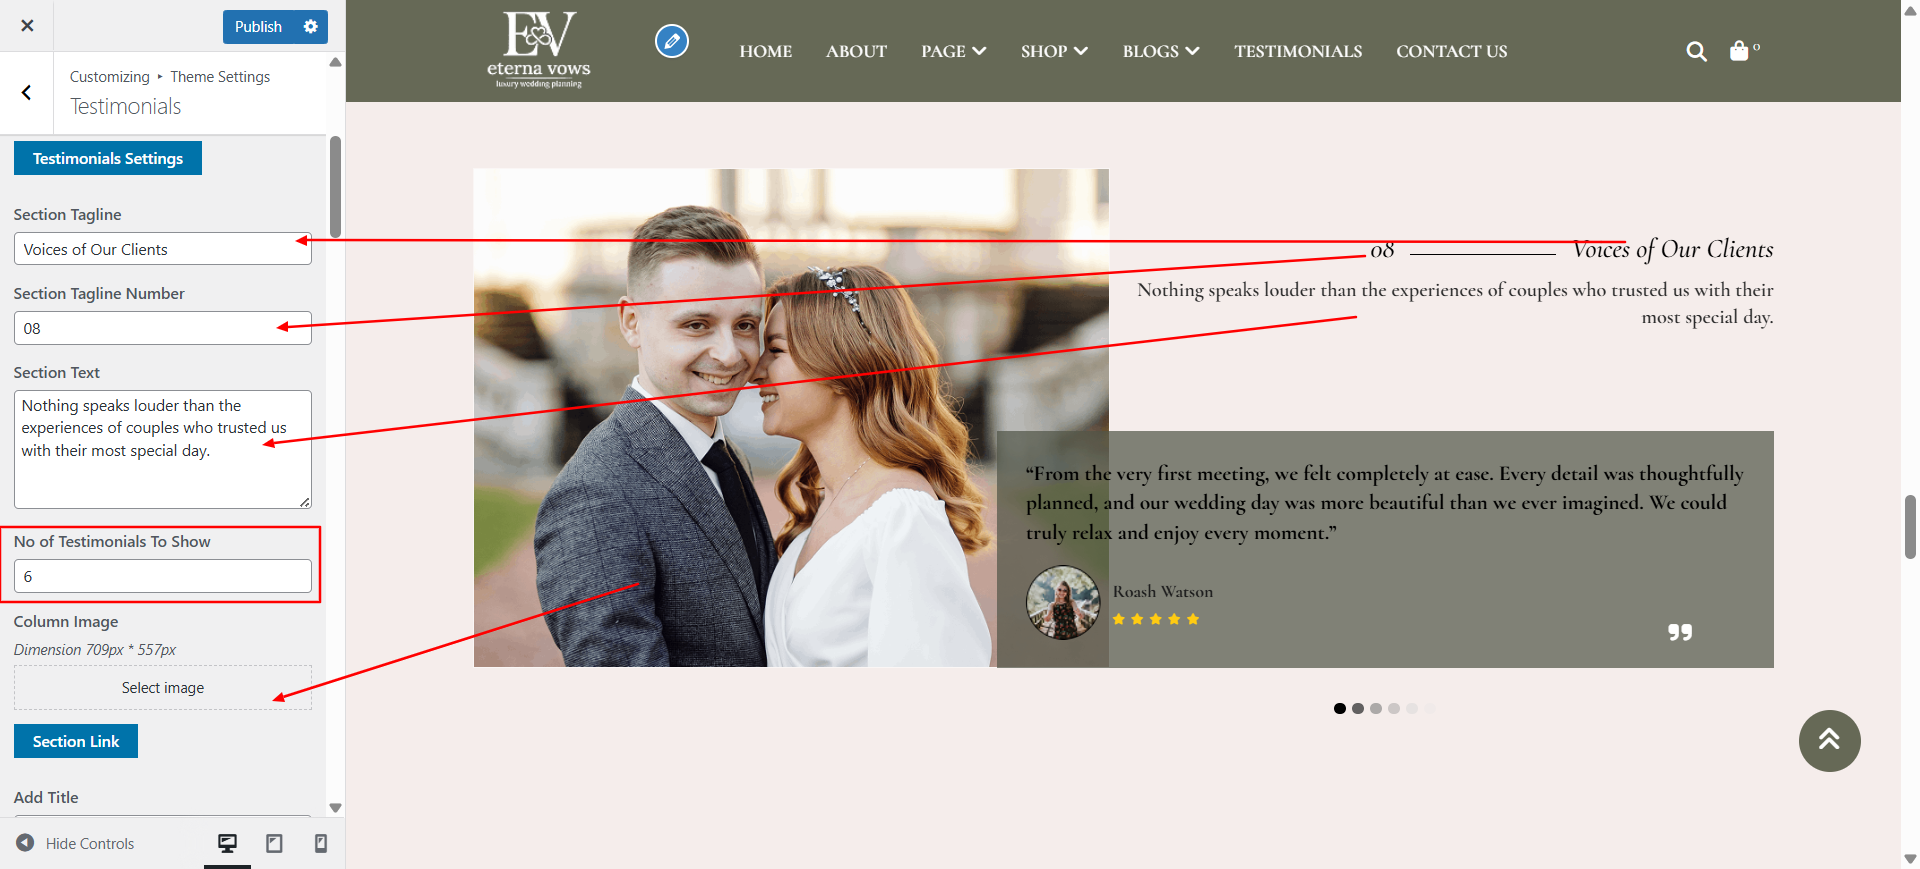
Go to Dashboard → Testimonials to view demo testimonials.
Scroll down to see all the color customization options for this section.
Configure "Blog" Section
Description: Introduce your blog here in this section.
Open "Blog" from the Theme Settings panel in the Customizer.
Update background visuals using "Background Color" and "Background Images".
Adjust the number of blog to show, and fill in each box with your content.
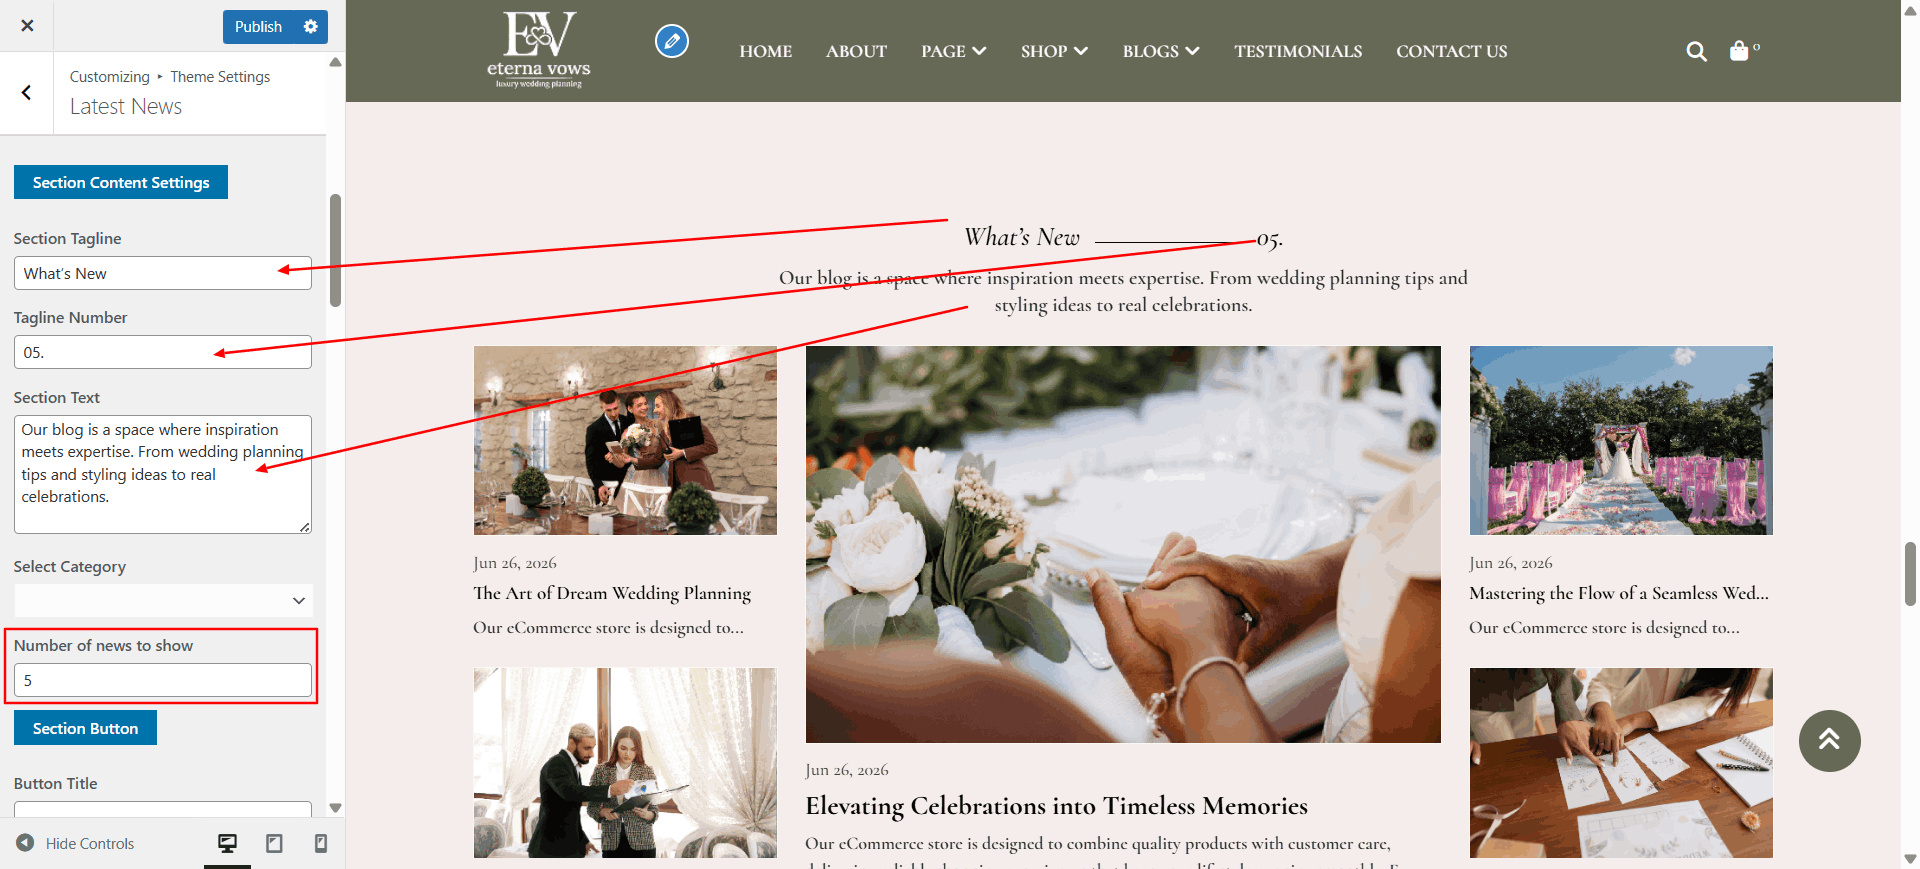
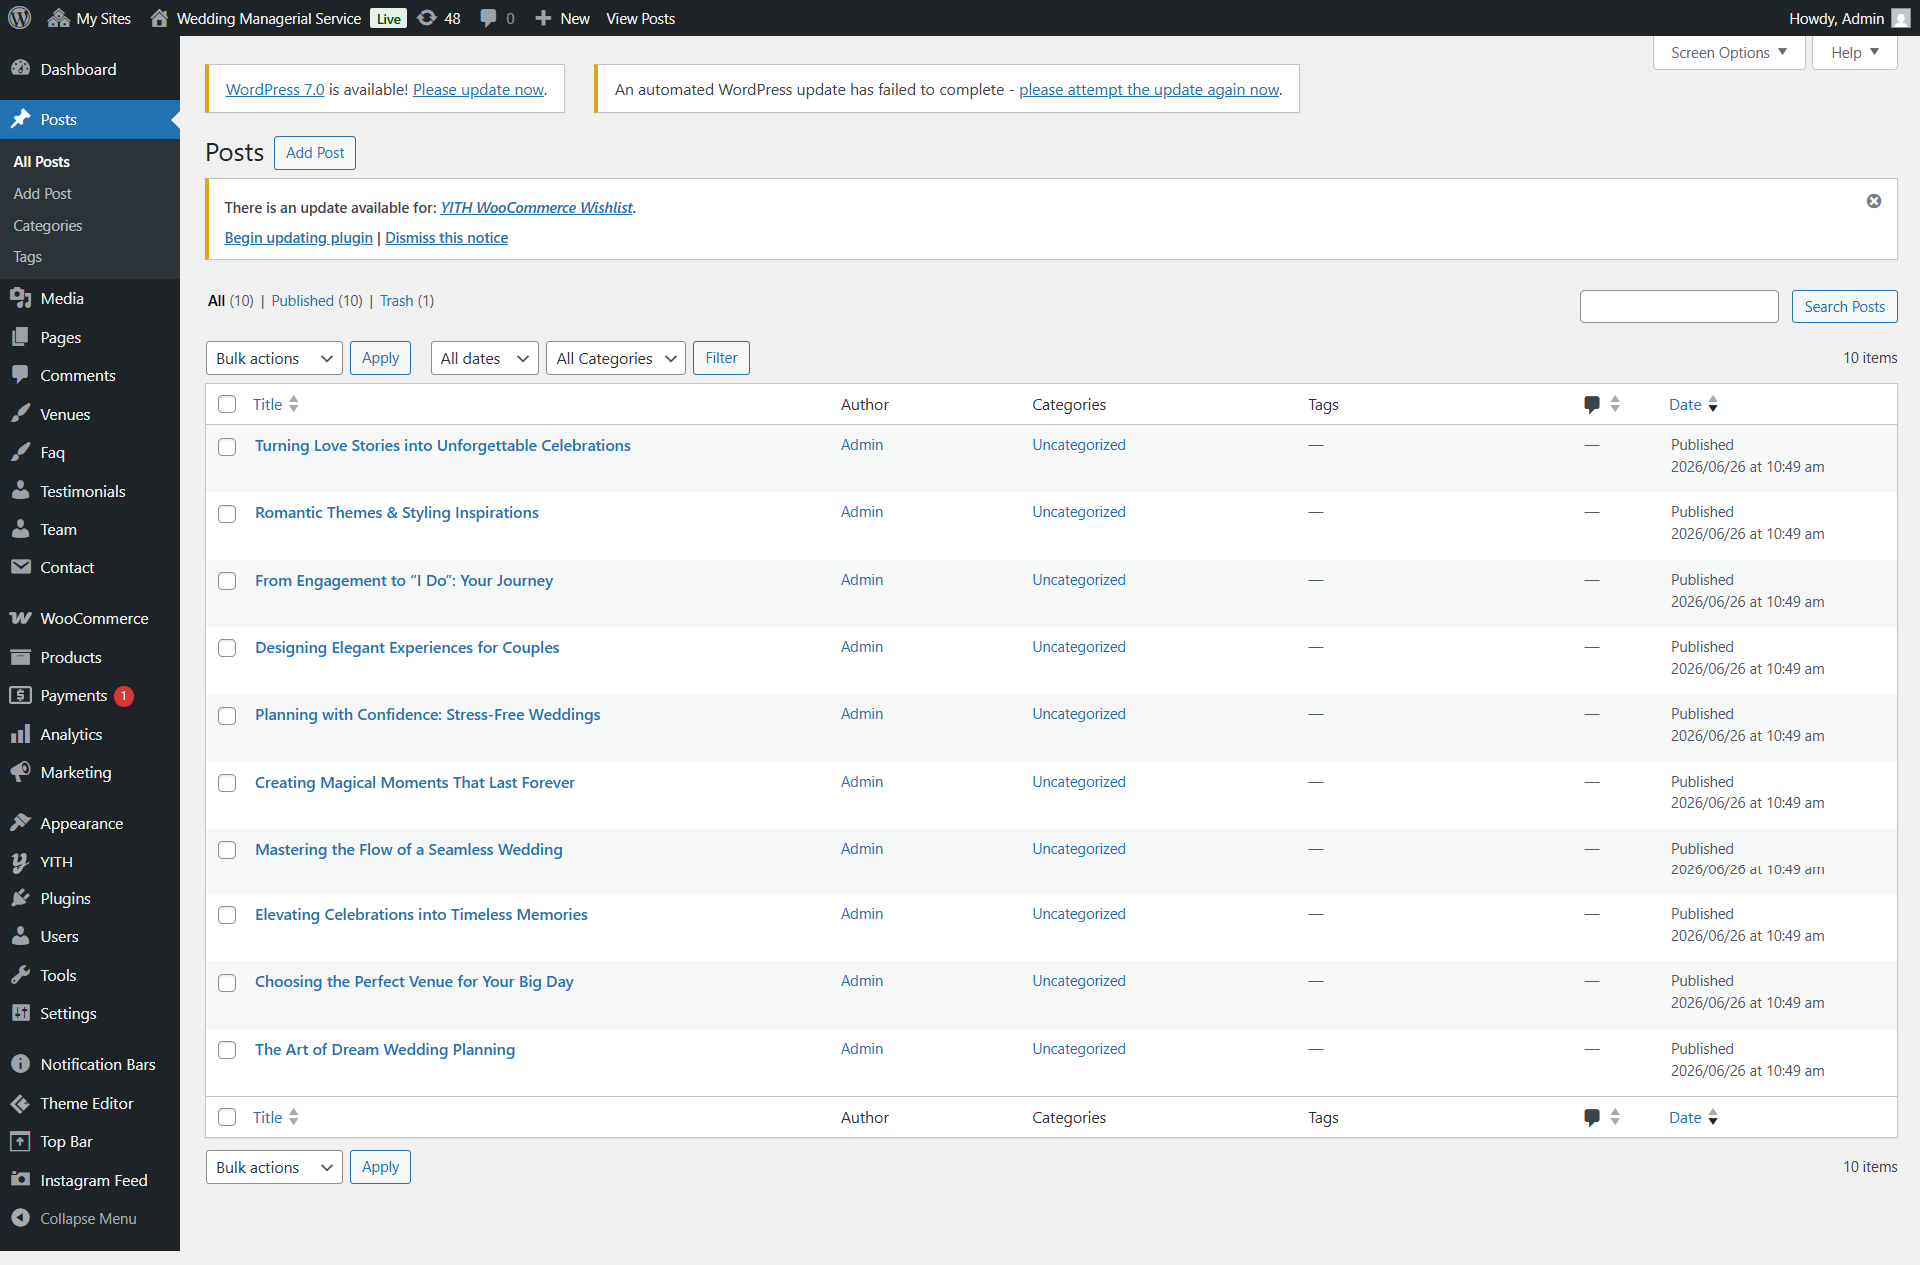
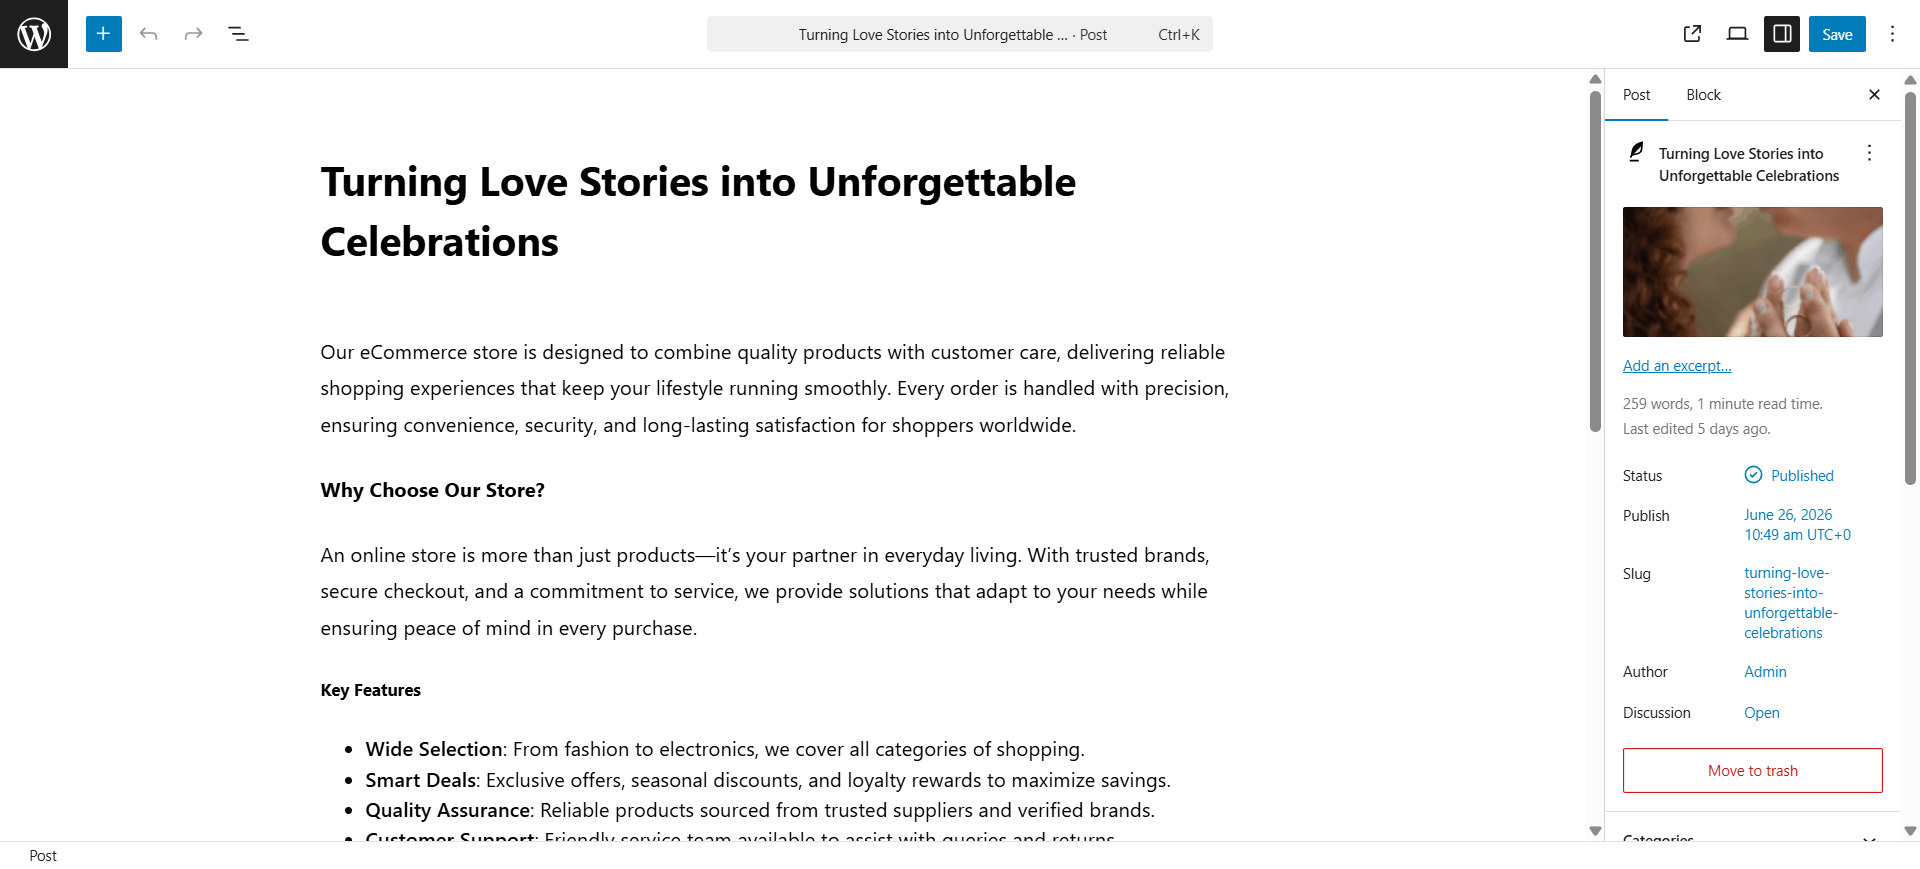
Go to Dashboard → Blog to view demo blog.
Scroll down to see all the color customization options for this section.
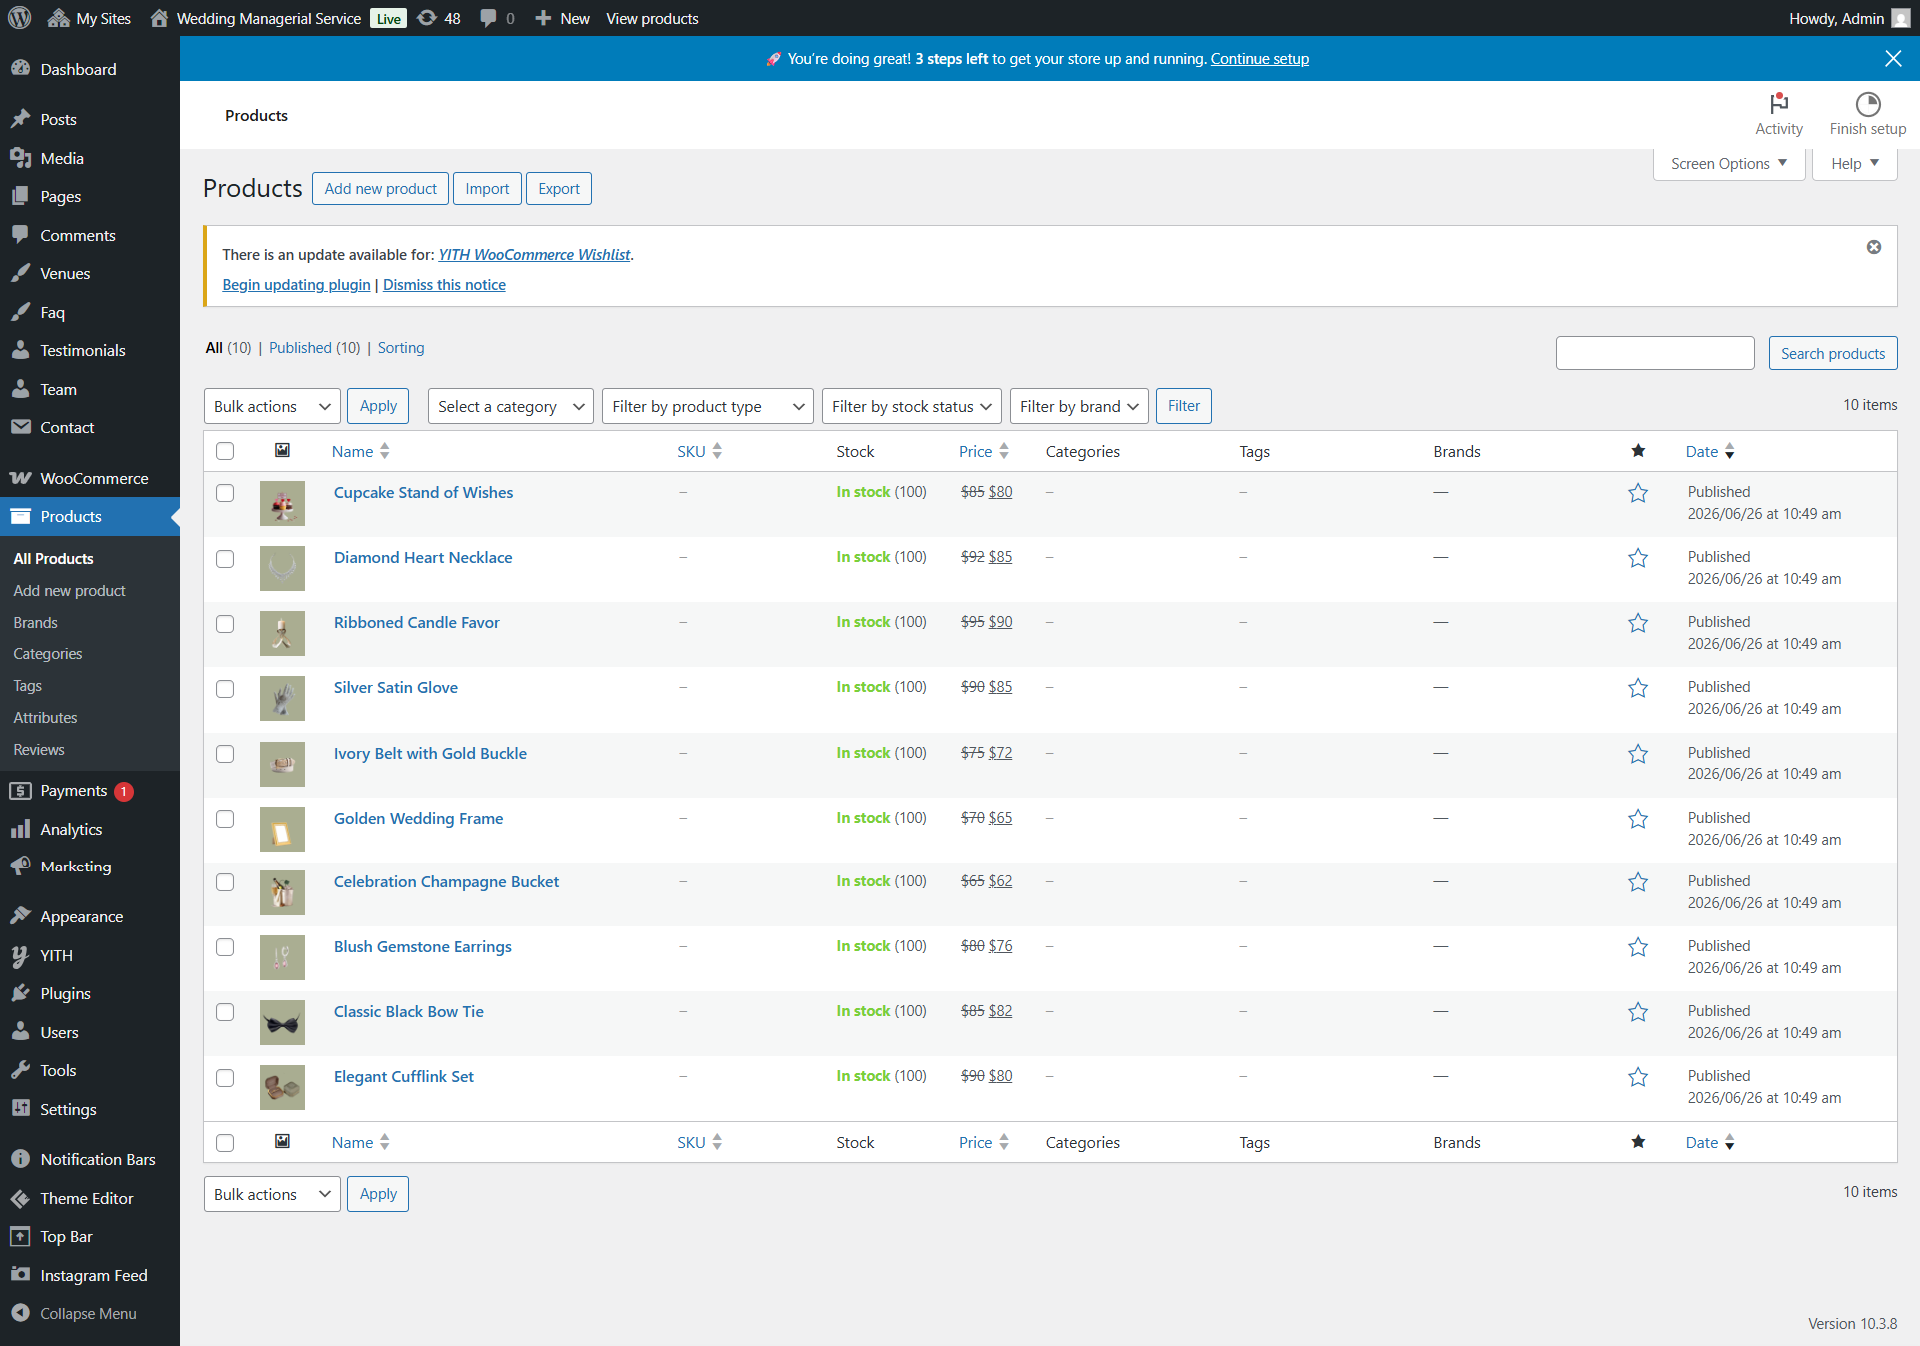
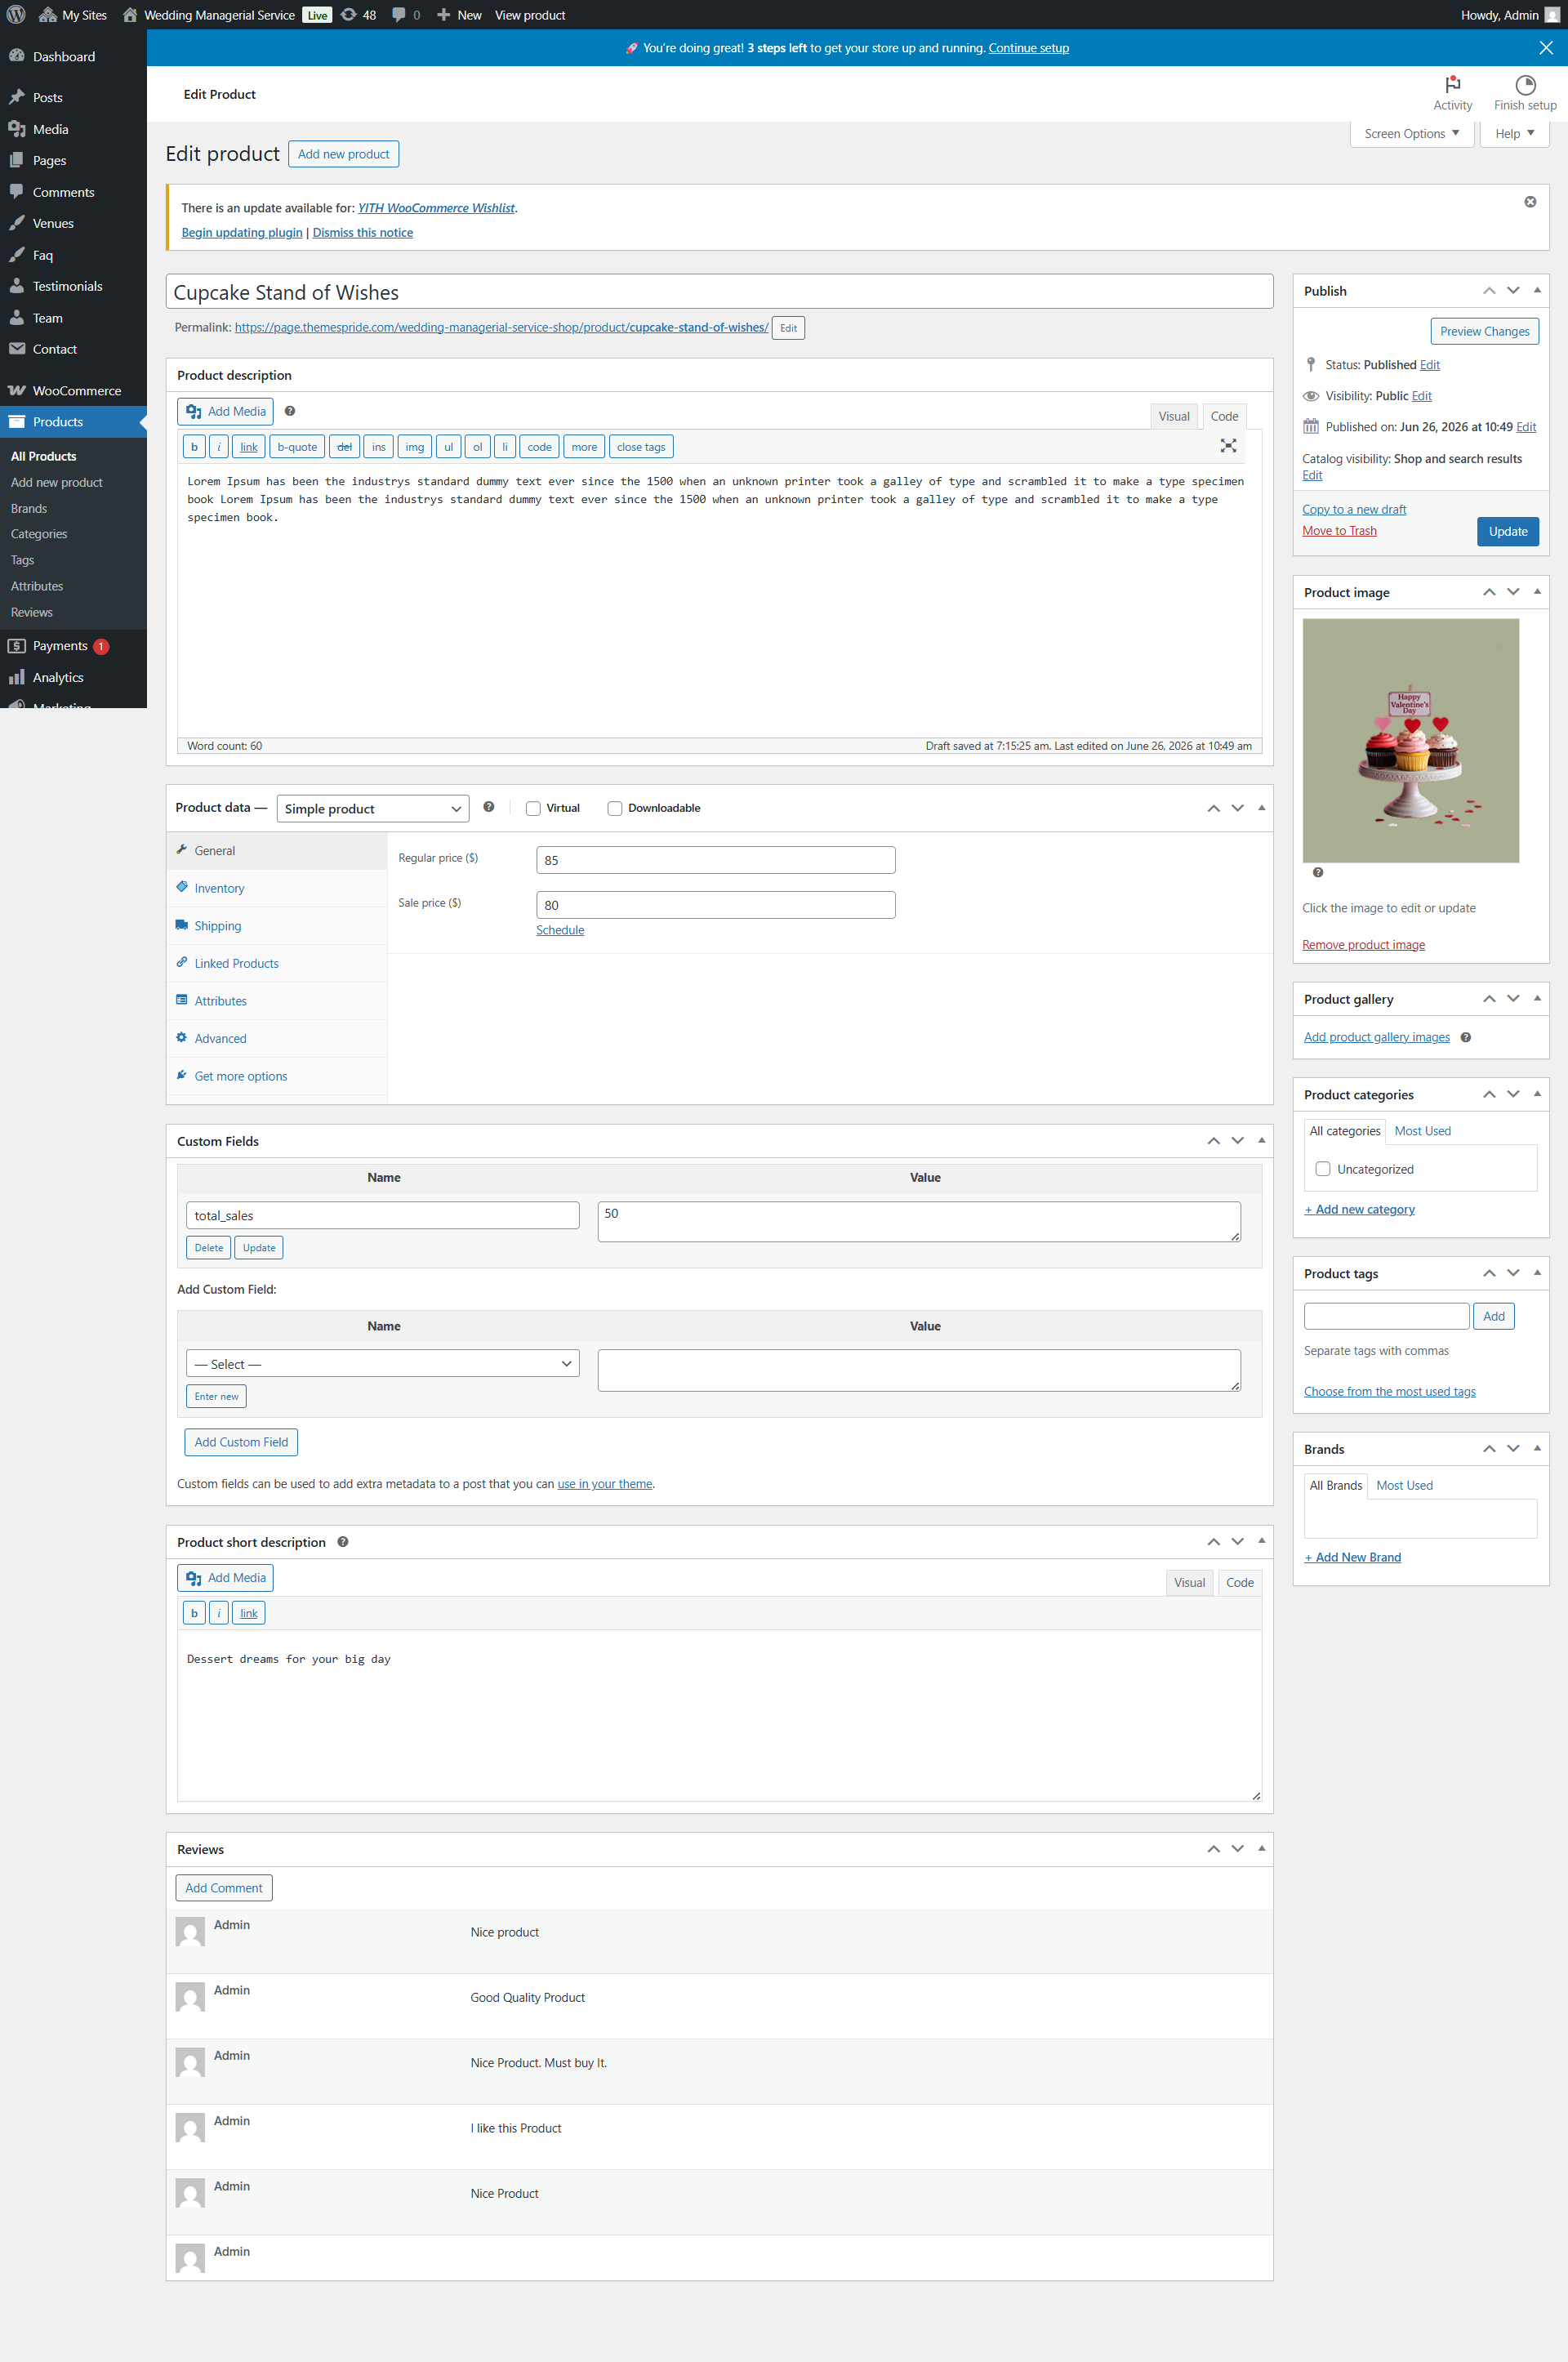
Configure "Products" Section
Description: Introduce your products here in this section.
Open "Products" from the Theme Settings panel in the Customizer.
Update background visuals using "Background Color" and "Background Images".
Adjust the number of products to show, and fill in each box with your content.
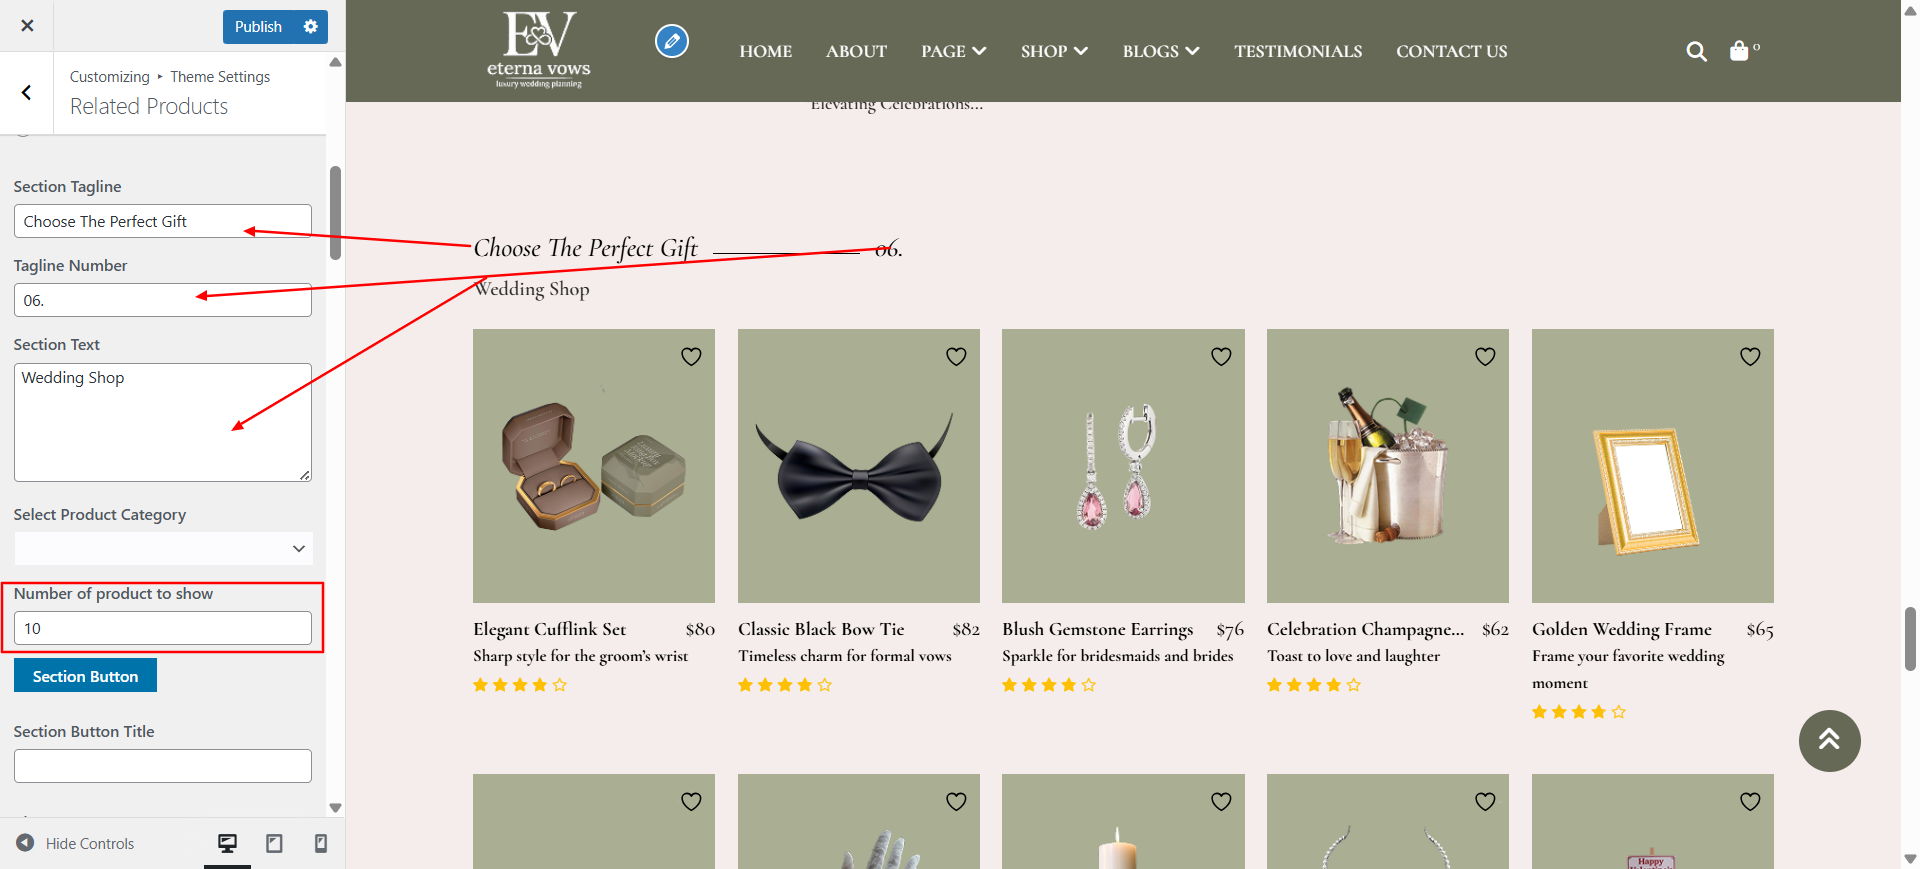
Go to Dashboard → Products to view demo product.
Scroll down to see all the color customization options for this section.
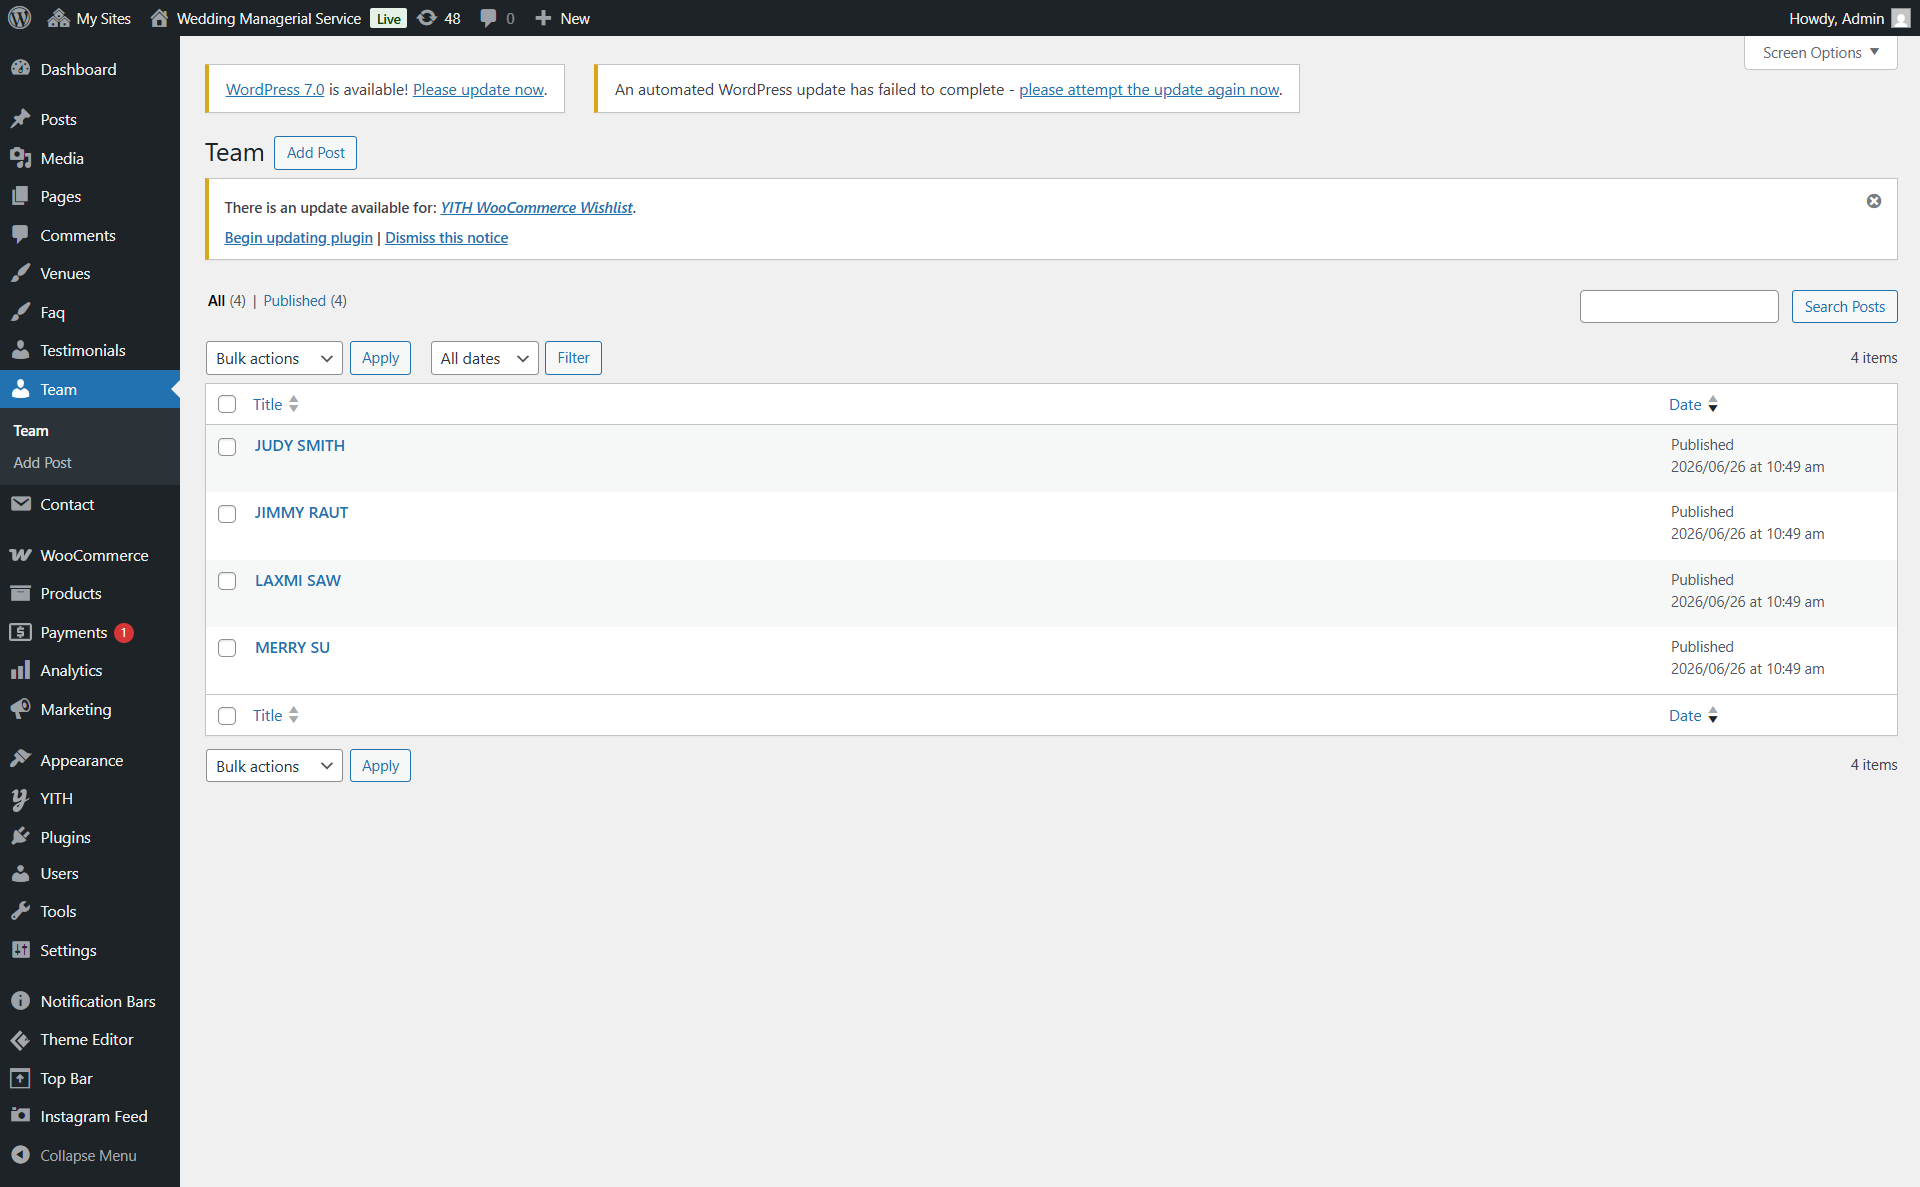
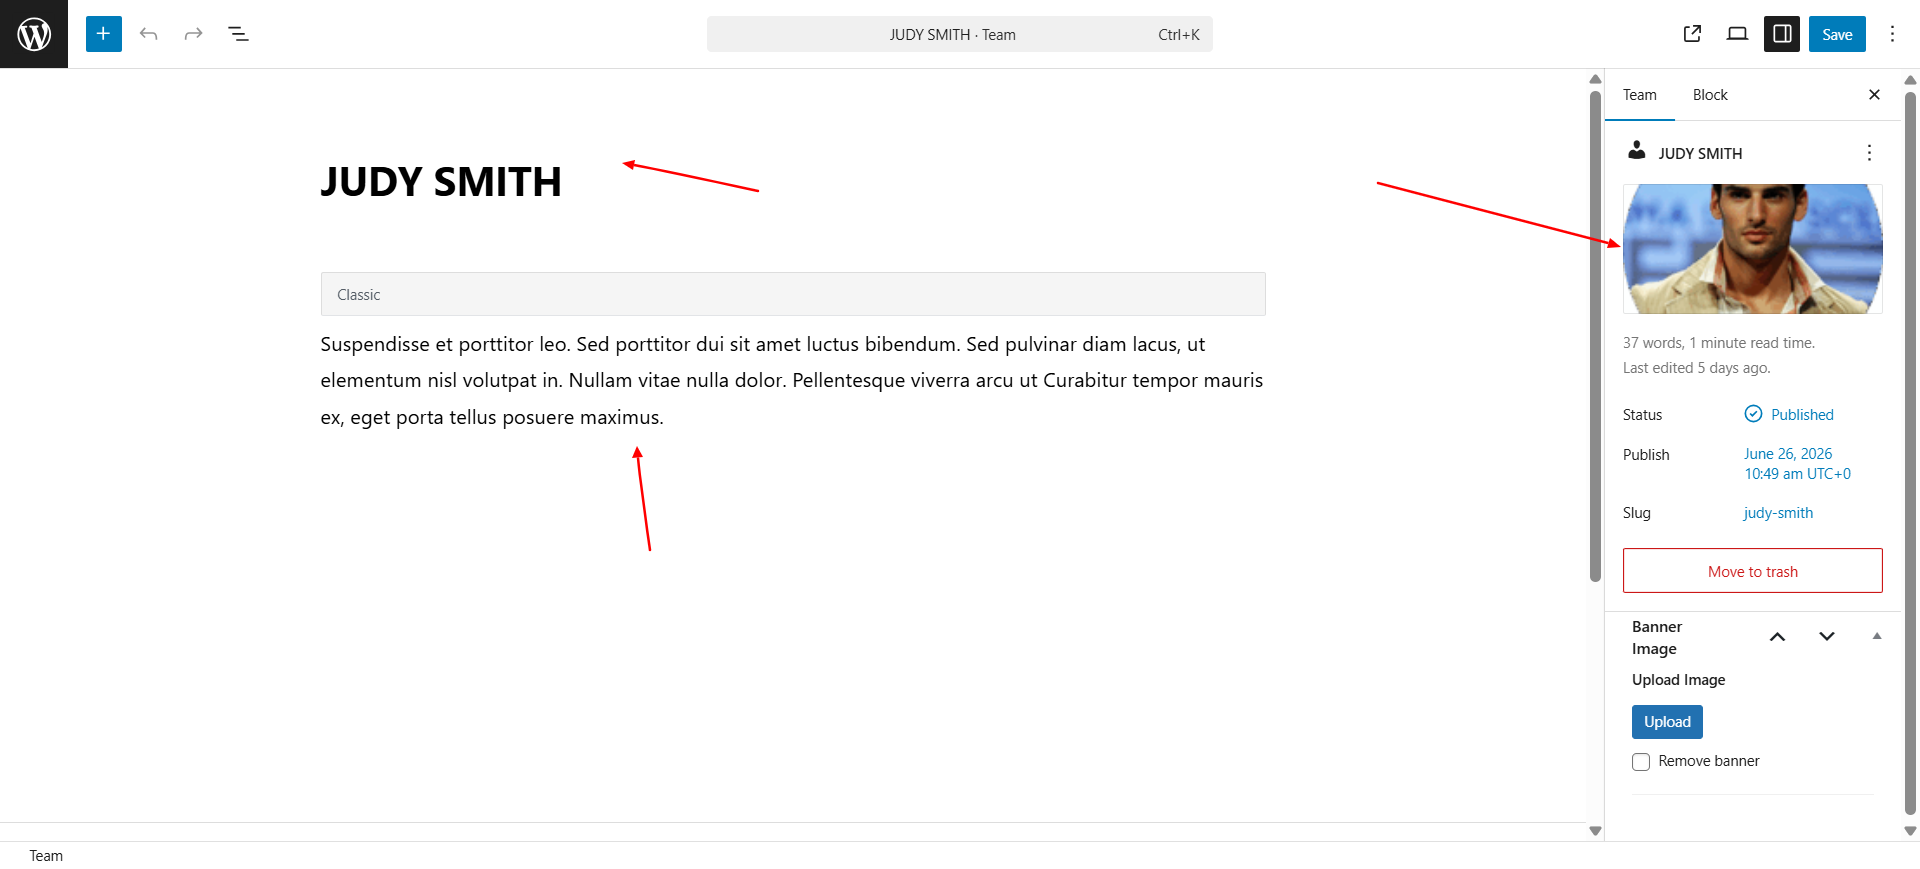
Configure "Team" Section
Description: Introduce your team with images and bios.
Open "Team" from the Theme Settings panel in the Customizer.
Update background visuals using "Background Color" and "Background Images".
Adjust the number of team to show, and fill in each box with your content.
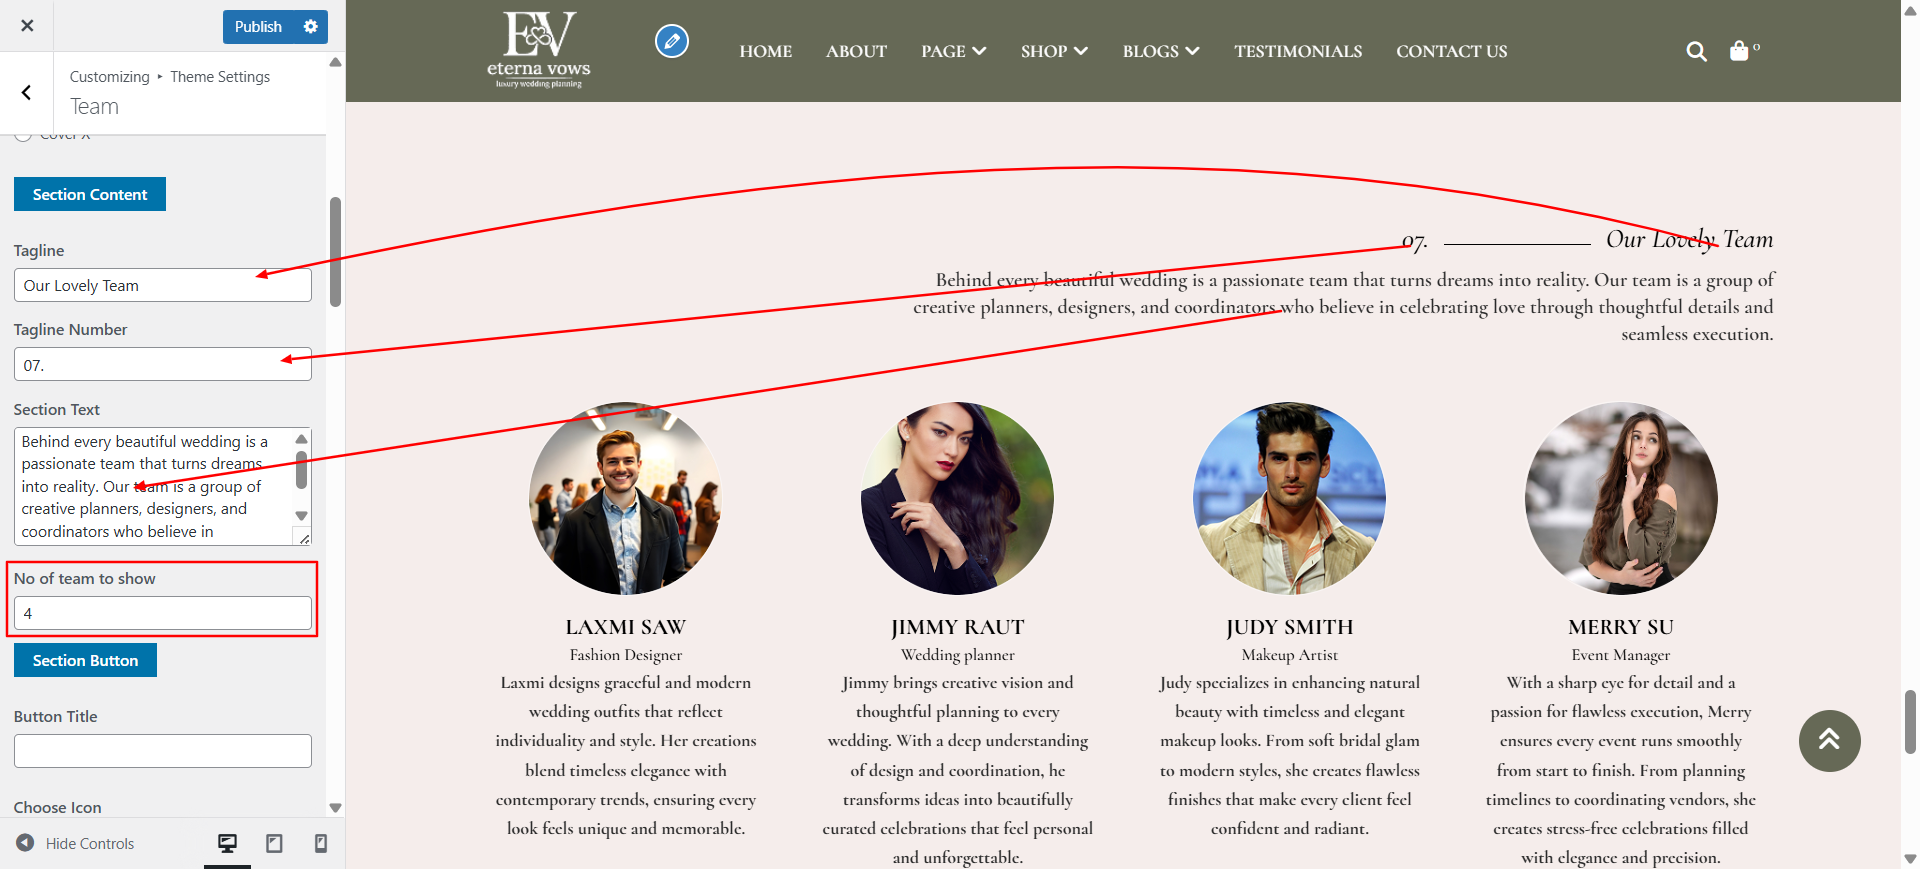
Go to Dashboard → Team to view demo team.
Scroll down to see all the color customization options for this section.
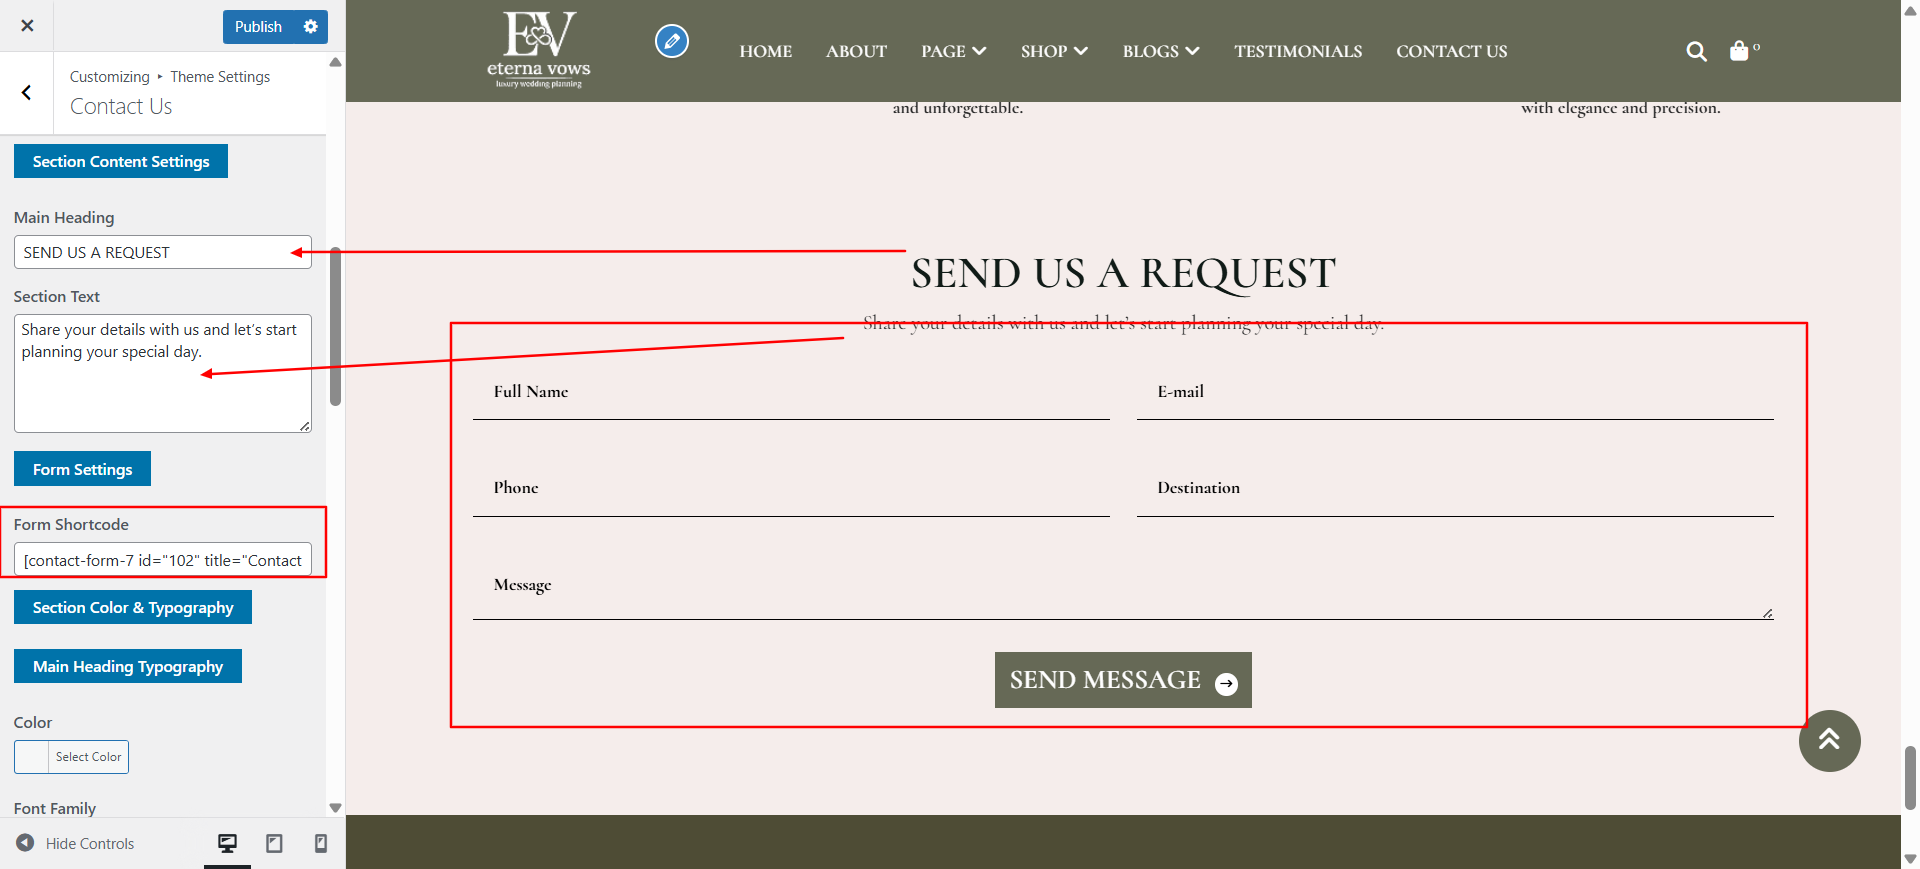
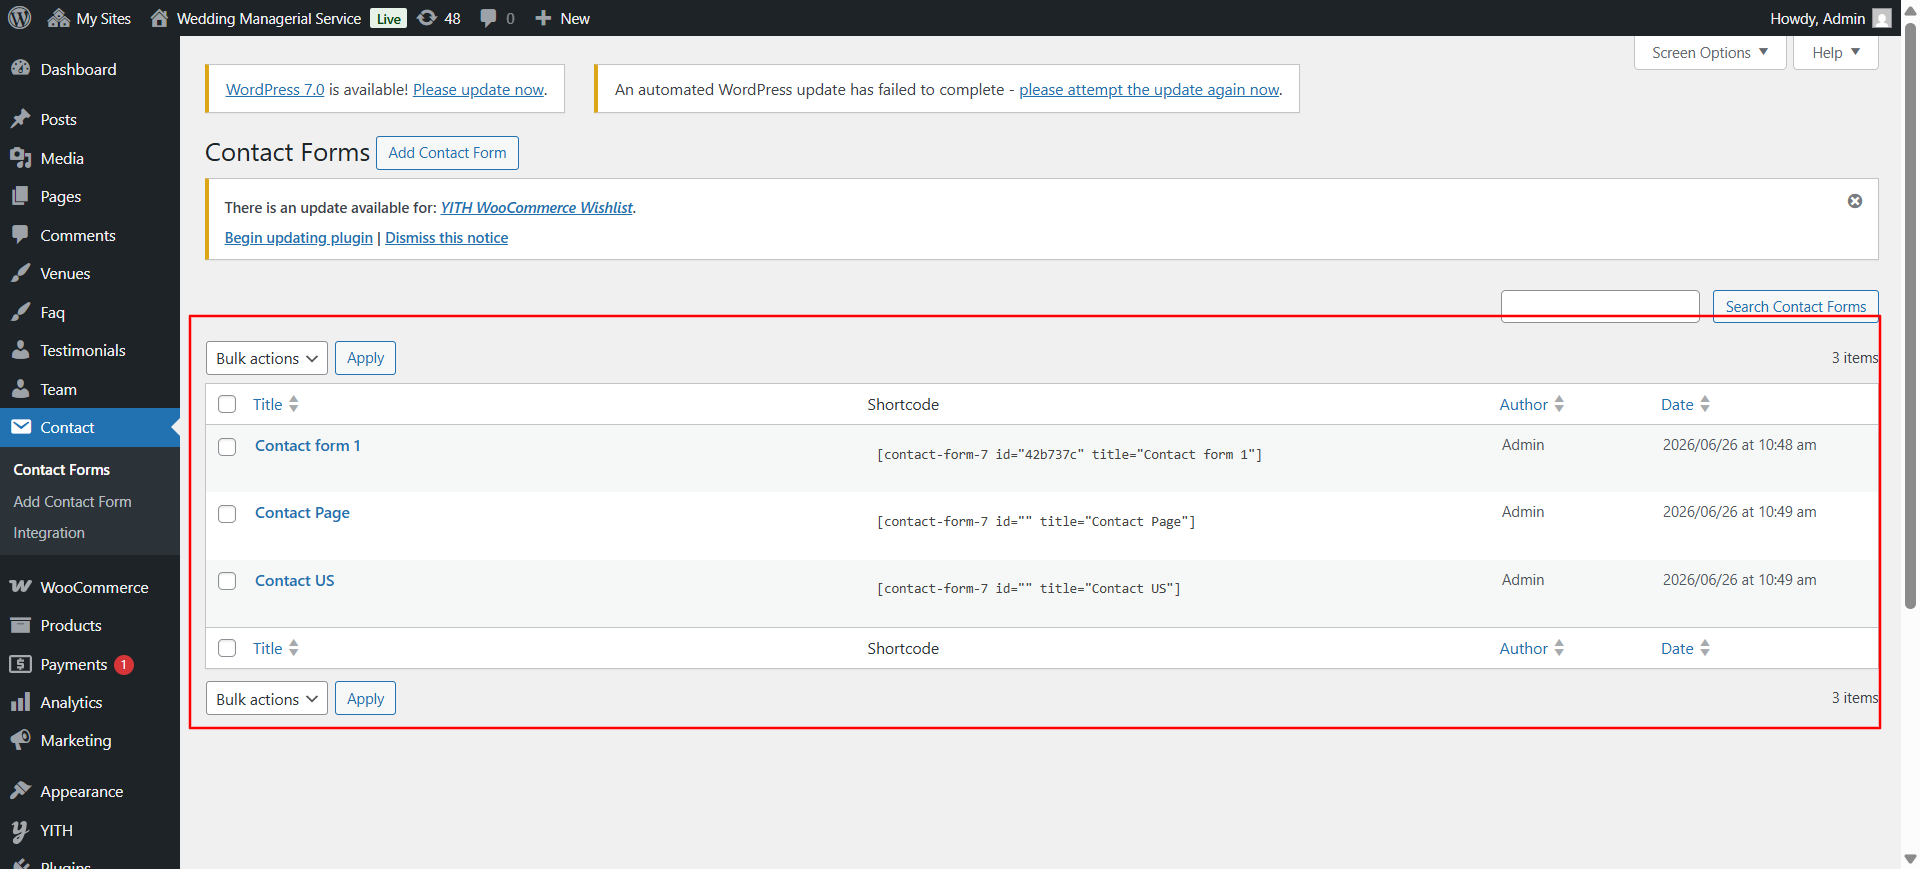
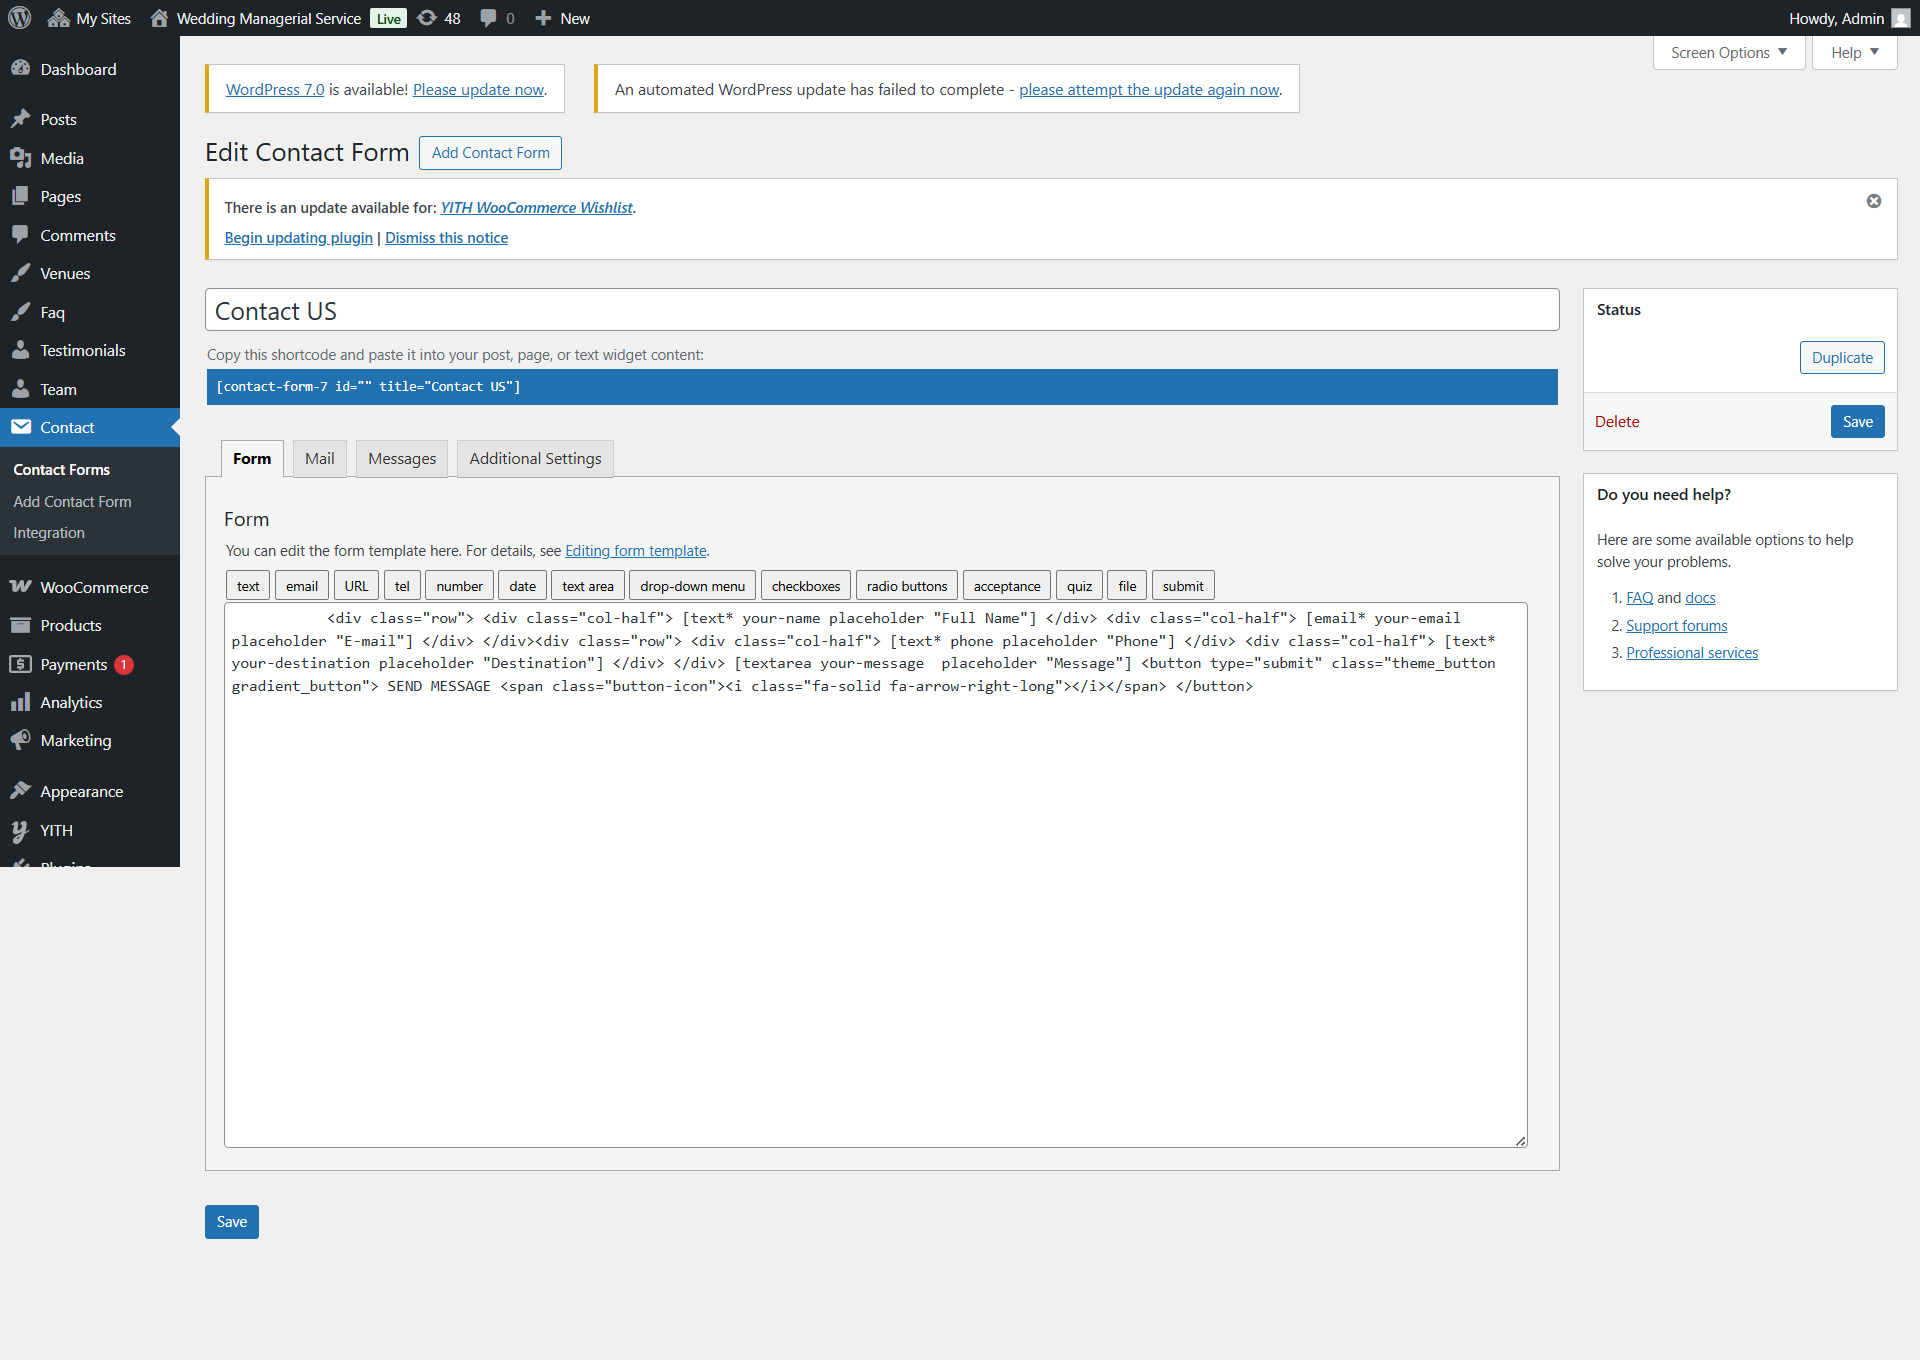
Configure "Contact"
Description: Set up a contact signup form to grow your audience.
Go to Theme Settings → Contact in the Customizer.
Edit the page title and insert your form shortcode.
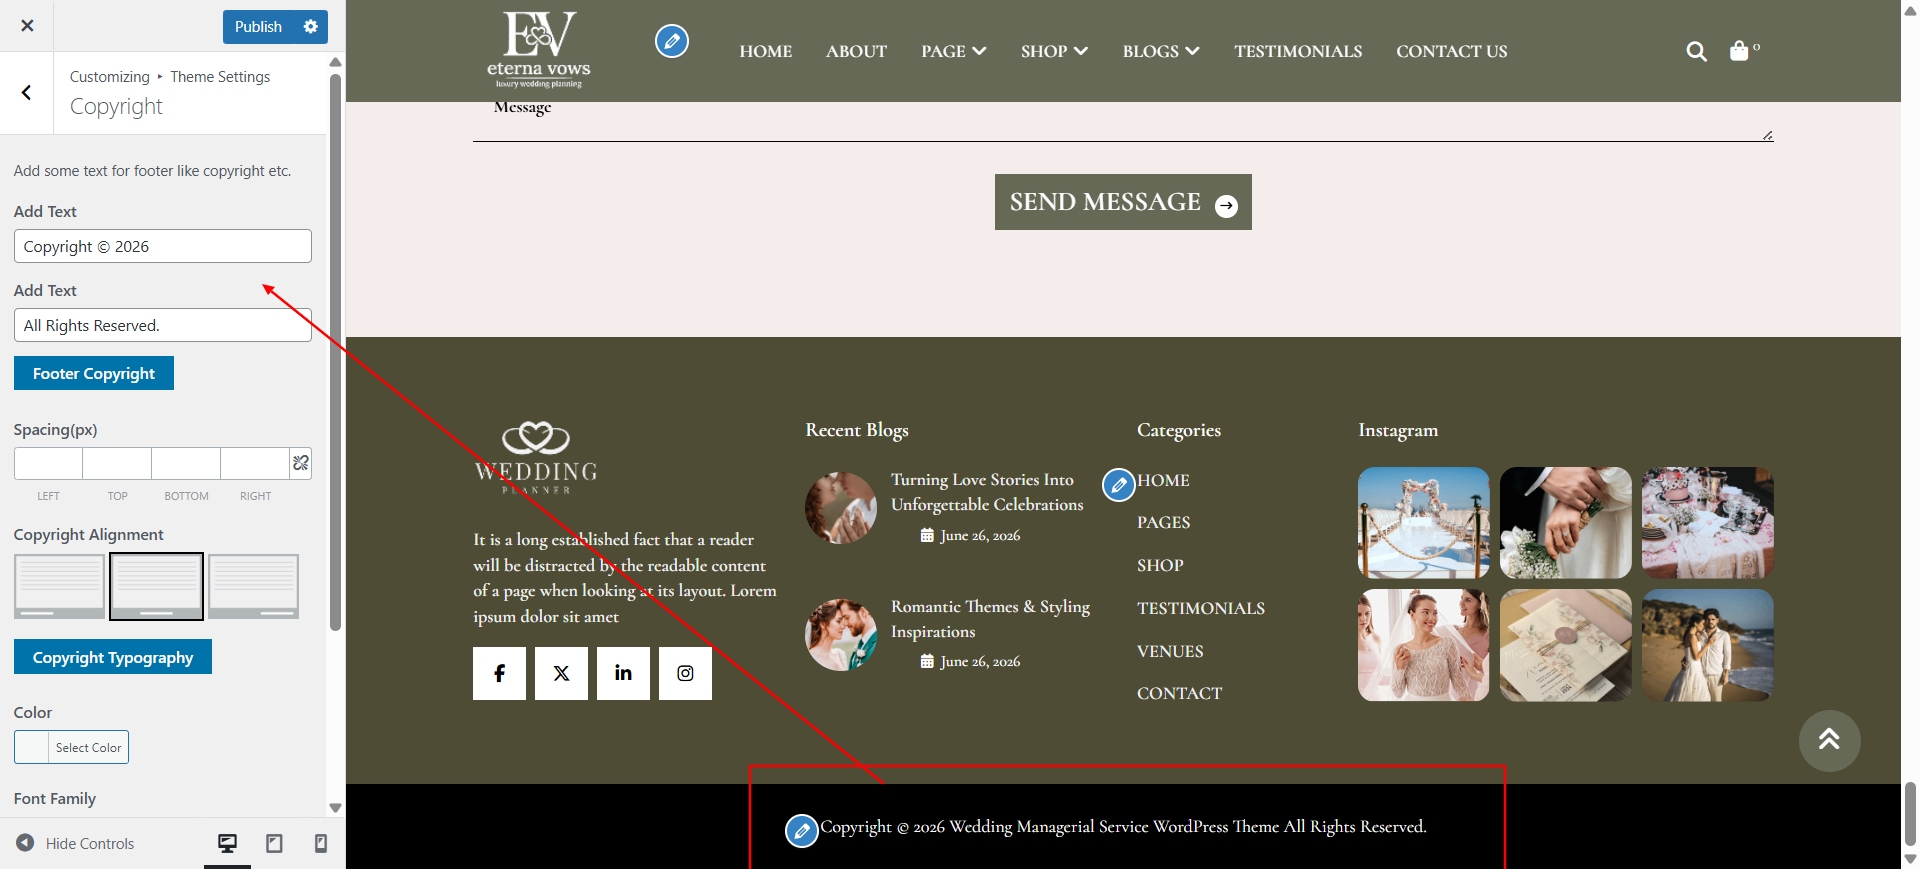
Configure "Copyright"
Description: Edit the copyright notice displayed in your site's footer.
Go to Theme Settings → Copyright.
Edit the copyright text field to customize the footer note.
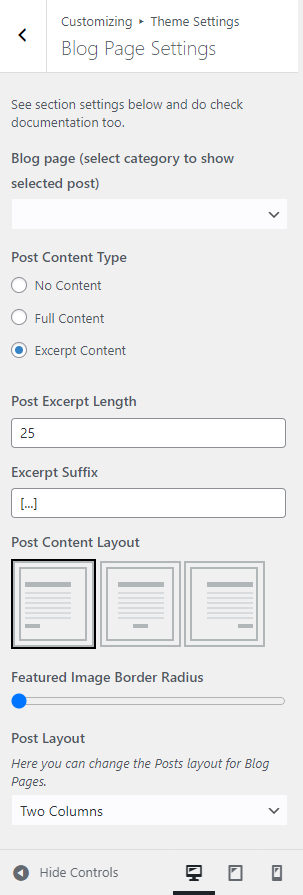
Configure "Blog Page"
Description: Manage global blog settings for your website.
This section contains global blog settings. To access it, go to Theme Settings → General Settings.
Configure "Single Post Page"
Description: Customize the layout and style of single blog post pages.
Access via Appearance → Customize → Theme Settings → Single Post Page.
Here you can customize layout, elements, and styling for single blog posts.

Configure "General Settings"
Description: Adjust overall theme configuration and settings.
This section contains overall theme configuration. Access it via Theme Settings → General Settings.

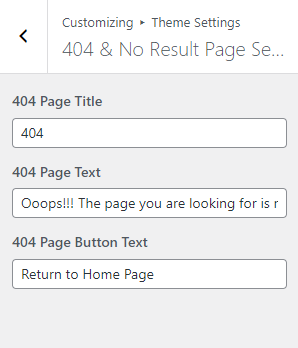
Configure "404 Page"
Description: Personalize the 404 error page content and design.
Go to Theme Settings → 404 Page Settings.
Here you can customize the content and design of your 404 error page.
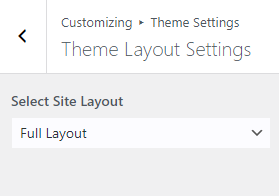
Configure "Theme Layout"
Description: Switch between full-width and boxed layout modes for your site.
Go to Theme Settings → Theme Layout Settings to switch between full-width and boxed layout modes.
Configure "Responsive Settings"
Description: Configure responsive settings for optimal viewing on all devices.
Access via Theme Settings → Responsive Settings.
You can:
- Disable the sticky menu on mobile or tablet views
- Set the mobile menu sidebar width to fit your design preference